

18 Aug Magnesium Wall Board Installation Method
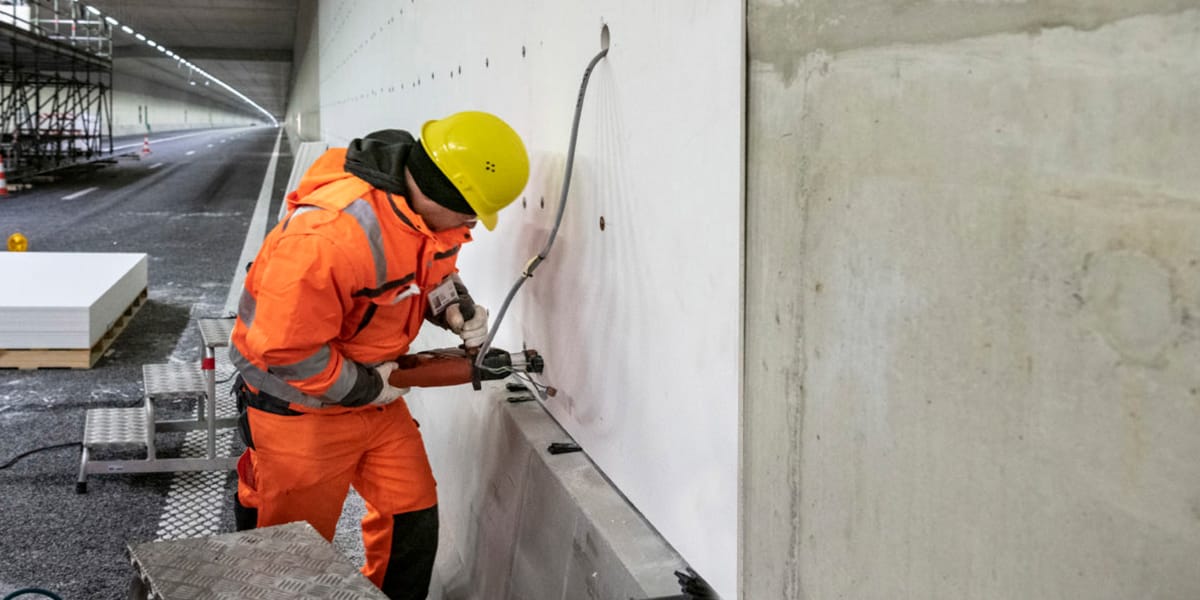
To install magnesium wall boards properly, you need to follow a careful installation method. Begin by preparing your workspace and ensuring your safety. First, check the moisture levels at the worksite because installing boards in damp areas can lead to issues like rust, mold, and warped boards. Builders prefer magnesium wall boards due to their fire resistance, low water absorption, and eco-friendly qualities. Always use the right tools and adhere to each step of the installation method to achieve strong and durable walls.
Key Takeaways
Get all your tools and materials ready before you start. This helps you work faster and keeps you safe. – Always wear safety gear like glasses, gloves, and a dust mask. This protects you from dust and sharp edges. – Let magnesium boards sit in the room for at least 48 hours. This stops them from cracking or bending. – Measure carefully and dry fit the boards. Leave small gaps so the boards can expand. Put screws in evenly to keep the walls strong and flat. – Seal the joints the right way and use waterproofing in wet places. This keeps water out and helps the walls last longer.
Preparation
Tools and Materials
Get all your tools and materials before you start. This makes your work faster and safer. You will need:
Circular saw with a thin carbide or diamond-tipped blade for cutting thick boards
Utility knife or carbide-tipped scoring knife for thin boards (6mm and below)
Fiber cement shears for precise cuts
Saw horses and a square for stable cutting and measuring
Corrosion-resistant screws, such as stainless steel or galvanized, for fastening
Self-tapping screws for metal studs
Construction adhesive or ASTM D3498 compliant adhesives
Polyurea or modified epoxy seam filler for joints
Joint compound and tape compatible with magnesium boards
Waterproofing membrane or coating for moist or exterior areas
Putty knife for applying fillers
Underlayment to create a stable base
Dust collection system or wet cutting setup to control dust
Measuring tape and pencil for marking
Clean workspace to prevent accidents
Tip: Keep magnesium boards flat and off the ground in a dry spot. This stops them from bending and keeps them strong.
Safety Gear
Safety is very important when working with magnesium wall boards. You need to protect yourself from dust and sharp edges. Wear:
Safety glasses to shield your eyes
Dust mask to avoid inhaling fine particles
Gloves to protect your hands from cuts and abrasions
Note: Cut boards where air moves well. Use dust collection tools or wet cutting to keep dust low.
Board Acclimation
Let magnesium wall boards get used to the room before installing. Put the boards in the room for at least 48 hours. This helps them match the room’s temperature and humidity. Run the HVAC system for 72 hours before you acclimate the boards. This keeps the room steady and stops cracking or bending.
Do not let boards get wet, even though they resist water
Carry boards on their side and stack them flat on supports
Tip: If you acclimate boards the right way, they will work better and last longer.
Layout
Surface Inspection
Start by checking the wall framing and studs. You want a flat and sturdy surface for your magnesium boards. Use a level to see if the studs are straight. If you find any uneven spots, fix them before you continue. Look for loose screws or nails and tighten them. Make sure the framing is dry and free from mold or rust. A solid base helps your boards stay strong and last longer.
Tip: Run your hand along the studs. If you feel bumps or dips, mark those spots. Fixing these areas now saves you trouble later.
Measuring and Marking
Measure the wall height and width with a tape measure. Write down these numbers. Plan how many boards you need. Try to use full boards as much as possible. This reduces waste and makes the wall look better. Mark the stud locations on the floor and ceiling with a pencil. Draw lines where each board edge will go. Double-check your measurements before you cut anything.
Use a carpenter’s square for straight lines.
Mark doorways, windows, and outlets so you can cut boards to fit.
Lay out your boards on the floor first to see how they fit together.
Note: Careful measuring and marking help you avoid mistakes. You save time and materials.
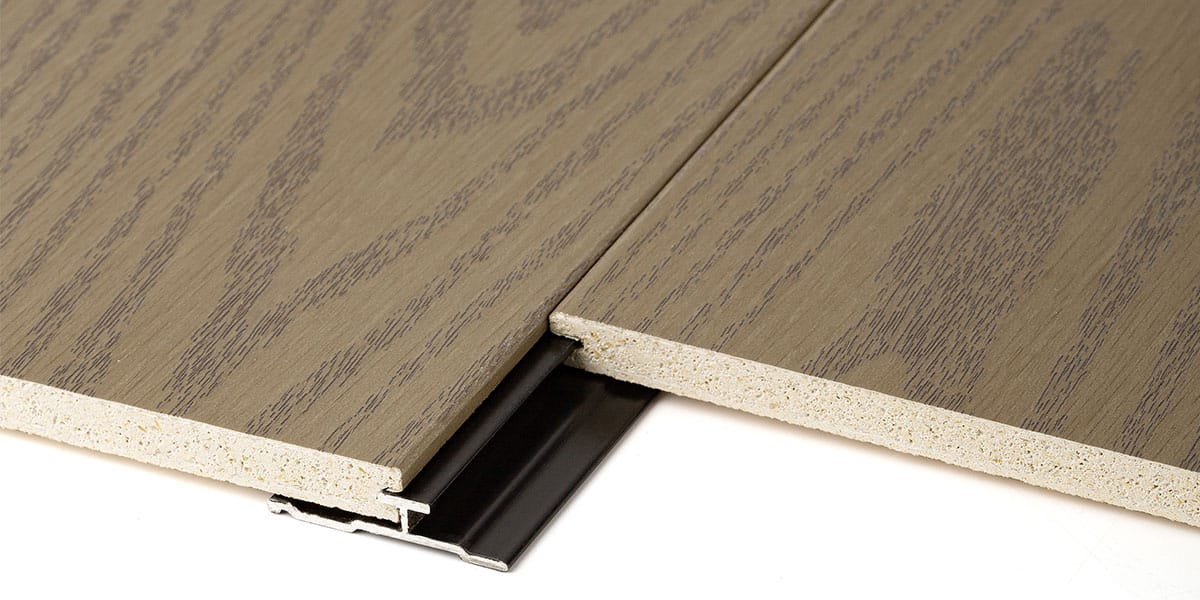
Board Placement
Place the boards against the wall, starting at one corner. Position each board so the edges line up with the studs. Leave a small gap (about 1/8 inch) between boards for expansion. Stagger the joints if you can. This makes the wall stronger. Make sure the boards sit flat and do not force them into place. Check that the edges are straight and the corners meet neatly.
Start at the bottom and work your way up.
Use spacers to keep gaps even.
Dry fit all boards before fastening them.
Pro Tip: Planning your board placement now makes installation faster and easier. You get a smooth, professional finish.
Cutting
 Cutting Techniques
 Cutting Techniques
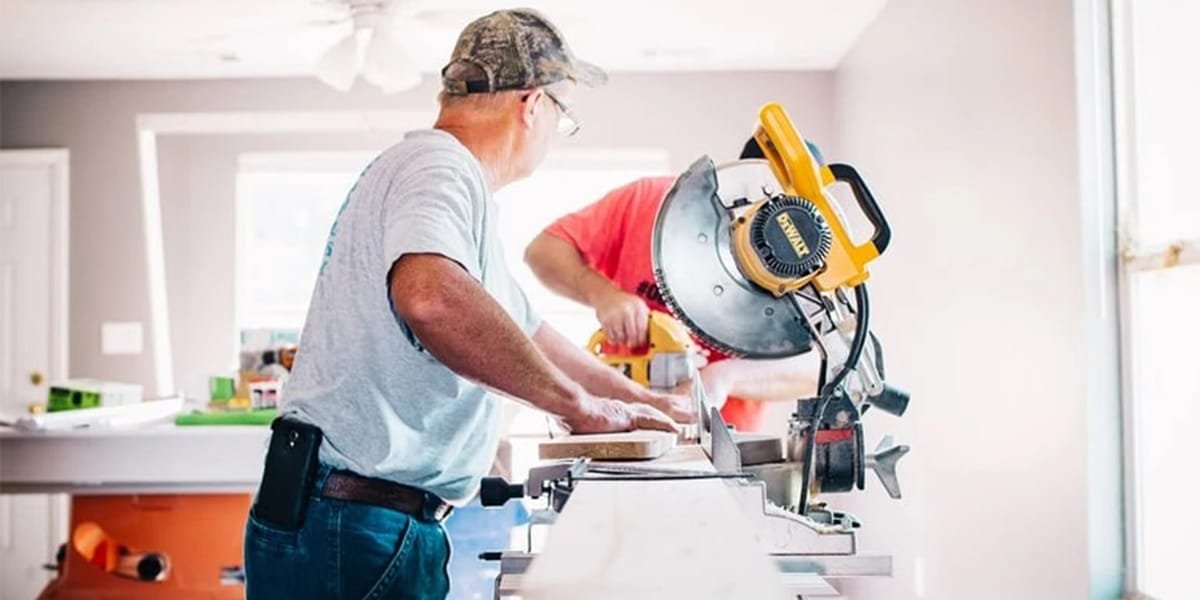
Cutting magnesium wall boards requires careful attention to safety and technique. You want clean edges and minimal dust. Start by gathering your safety gear. Put on safety goggles, gloves, and a dust mask. These protect you from dust and sharp fragments.
Follow these steps for safe and effective cutting:
Secure the board on a stable surface, such as saw horses or a workbench.
Use a circular saw with a thin carbide-tipped blade. Adjust the blade depth so it is just deeper than the board.
Start the saw and let it reach full speed before you begin cutting. Apply steady pressure. Do not force the saw.
For thin boards (about 8 mm or less), use the score and snap method with a utility knife. Always wear safety glasses and a mask.
Avoid using power saws indoors. This keeps dust out of your workspace.
Control dust by using wet suppression or a HEPA vacuum. Never dry sweep dust.
Tip: If you need to cut corners, glue them together first. This helps prevent micro cracking.
You can also use fiber cement shears for precise cuts. If you want smooth edges, rout them with carbide tooling. Remember, the score and snap method works for thin boards but may leave rough edges. Sand these edges before installation.
Dry Fitting
Dry fitting means placing boards on the wall before fastening them. This step helps you check the fit and alignment. You can spot mistakes early and fix them before you commit.
Acclimate boards for several days with the HVAC running. This prevents cracking from temperature or humidity changes.
Measure and mark each board using a tape measure and T-square. Straight cuts make installation easier.
Leave a small gap, about 1/8 inch, between boards. This allows for expansion and contraction.
Support all board ends with framing. Start installation from one side to avoid stress and keep the wall even.
Note: Dry fitting saves you time and materials. You get a smoother finish and fewer problems later.
By following these steps, you ensure that your magnesium wall boards fit perfectly and last longer.
Installation method
Positioning Boards
You need to follow a clear installation method when positioning magnesium wall boards. Start by gathering all your tools and materials. Make sure the boards are the right thickness and finish for your project. Clean the wall surface and check that the support studs are spaced evenly, usually between 16 and 24 inches apart. This step gives your boards a strong base.
Cut each board to size with a circular saw. Mark your measurements carefully. Always wear safety gear to protect yourself from dust. Begin at one corner of the wall. Place the first board so it lines up with the support studs. Use a level to check that the board sits straight. Work your way across the wall, placing each board snugly next to the last one. Do not force the boards into place. Leave a small gap, about 1/8 inch, between boards for expansion.
Here is a simple step-by-step guide for positioning:
Gather all tools and check board thickness and finish.
Clean the wall and install support studs 16–24 inches apart.
Cut boards to size and mark measurements.
Start at a corner and align the first board with the studs.
Use a level to check placement.
Place each board snugly, leaving a small gap for expansion.
Dry fit all boards before fastening.
Tip: Always start fastening from the center of each board and work outward. This helps prevent warping and keeps the board flat.
Fastening
The installation method for fastening magnesium wall boards requires careful attention to screw placement and depth. Use self-tapping screws for metal studs or corrosion-resistant screws for wood. Begin fastening at the center of the board and move outward. This technique spreads tension evenly and keeps the board from bowing.
Check the table below for recommended screw spacing and depth:
Installation Aspect | Specification |
|---|---|
Screw embedding depth | 0.5 to 1 mm into board surface |
Avoid damage to fiberglass mesh | Screws must not cut through mesh |
Distance from board edge | 10 to 15 mm |
Distance from cut edge | 15 to 20 mm |
Screw spacing along board edge | 200 mm (about 8 inches) |
Screw spacing in board center | 300 mm (about 12 inches) |
Drill pilot holes if needed, especially near the edges. Do not overtighten screws. The screw heads should sit just below the surface, but must not break the fiberglass mesh. Place screws 8 to 10 inches apart along the studs. For best results, use a screw gun with an adjustable clutch.
Note: You can also nail or screw the boards onto underlayment or framing, depending on your wall structure.
Corners and Edges
Treating corners and edges correctly is a key part of the installation method. Plan your corner seams so they do not all end at the same spot. This makes the joints stronger. Cut boards to fit tightly at corners, but always leave a small expansion gap—usually between 1/8 and 1/4 inch. Use a square to make sure the boards meet at a true 90-degree angle.
Follow these steps for neat corners and edges:
Stagger corner seams for strength.
Cut boards to fit, leaving a small expansion gap.
Use a square for 90-degree angles.
Fasten boards with screws spaced 8 to 12 inches apart, starting at the center of each seam.
Avoid overtightening screws.
For outside corners, apply metal or PVC corner beads to protect the edges.
Use self-adhesive fiberglass tape and hydraulic cement fillers for joints.
Fill small gaps with non-shrinking caulk to keep out water and air.
Smooth all seams for a clean finish.
Pro Tip: Always check the manufacturer’s instructions for corner treatment. Some brands may have special requirements based on the environment.
By following these steps, you ensure your installation method creates strong, smooth, and long-lasting magnesium wall board surfaces.
Finishing
Joint Sealing
 Joint Sealing
You must seal the joints between magnesium wall boards to create a smooth, strong wall. Start by leaving a gap of about 1/8 inch between each board. This gap allows the boards to expand and contract with changes in temperature and humidity. Fill the gap with a flexible filler, such as Manus-Bond 75-AM, and make sure it sits flush with the surface. Next, place 6-inch-wide fiberglass tape over the seam. Press the tape into a setting compound like RapidSet Wunderfixx. Feather the compound 12 to 18 inches beyond the seam for a seamless look. Once the compound dries, sand it lightly while it is still damp. Apply a final coat of high-quality joint compound, such as Murco Wall M-100 or Westpac Materials “Red Dot,” and feather it out 18 to 24 inches. This process helps prevent cracks and keeps the wall looking professional.
Tip: Always use fiberglass self-stick tape for extra strength at the joints. Avoid regular gypsum board compounds, as they may not bond well with magnesium boards.
Waterproofing
If you install magnesium wall boards in wet or humid areas, you need to add waterproofing. After sealing the joints, apply a waterproof membrane or coating over the seams and board surfaces. Use a paintable, non-shrinking caulk for small gaps. For larger gaps, choose polyurea or epoxy fillers. These materials keep water out and protect the boards from damage. In bathrooms or kitchens, pay special attention to corners and edges. Seal these areas carefully to stop moisture from getting behind the boards.
Note: Sealing edges and seams with waterproof products extends the life of your wall and prevents mold or swelling.
Surface Prep
Proper surface preparation gives you the best finish. Sand only the areas treated with joint compound. Use fine sandpaper and work gently to avoid damaging the board. Make sure the compound is completely dry before sanding. Clean the surface with a damp cloth to remove dust. Let the boards dry fully. After sanding, apply a primer made for masonry or concrete. This step helps paint or other finishes stick better and last longer.
Wear goggles, gloves, and a dust mask when sanding.
Always check for rough spots and sand them smooth.
Prime the surface before painting or applying other finishes.
Pro Tip: Careful surface prep prevents common mistakes like rough patches or peeling paint. Your finished wall will look smooth and last for years.
You can build a strong wall if you follow the right steps.
1. Get all your tools and materials ready.
2. Make sure the wall surface is flat and clean.
3. Plan where the joists will go and fix them in place.
4. Measure, cut, and attach magnesium boards. Leave small gaps for expansion.
5. Finish the wall to protect it and make it look nice.
If you have problems, check FAQs or look at guides like the USG technical handbooks. For big or hard projects, ask a professional for help.
FAQ
How do you cut magnesium wall boards safely?
You should wear safety glasses, gloves, and a dust mask. Use a circular saw with a thin carbide blade. Cut boards on a stable surface. Always keep your hands away from the blade.
Tip: Wet cutting or using a vacuum helps control dust.
Can you paint magnesium wall boards?
Yes, you can paint magnesium wall boards. First, sand the joints and clean the surface. Apply a primer made for masonry. Use high-quality paint for the best results.
Step | Action |
|---|---|
1 | Sand joints |
2 | Clean surface |
3 | Apply primer |
4 | Paint |
What screws should you use for installation?
You should use corrosion-resistant screws. Stainless steel or galvanized screws work best. For metal studs, use self-tapping screws. Space screws 8 to 10 inches apart for strong support.
Do magnesium boards need waterproofing?
You need waterproofing in wet areas like bathrooms. Apply a waterproof membrane over seams and edges. Use non-shrinking caulk for small gaps. This keeps water out and protects your wall.
Note: Waterproofing helps prevent mold and swelling.