

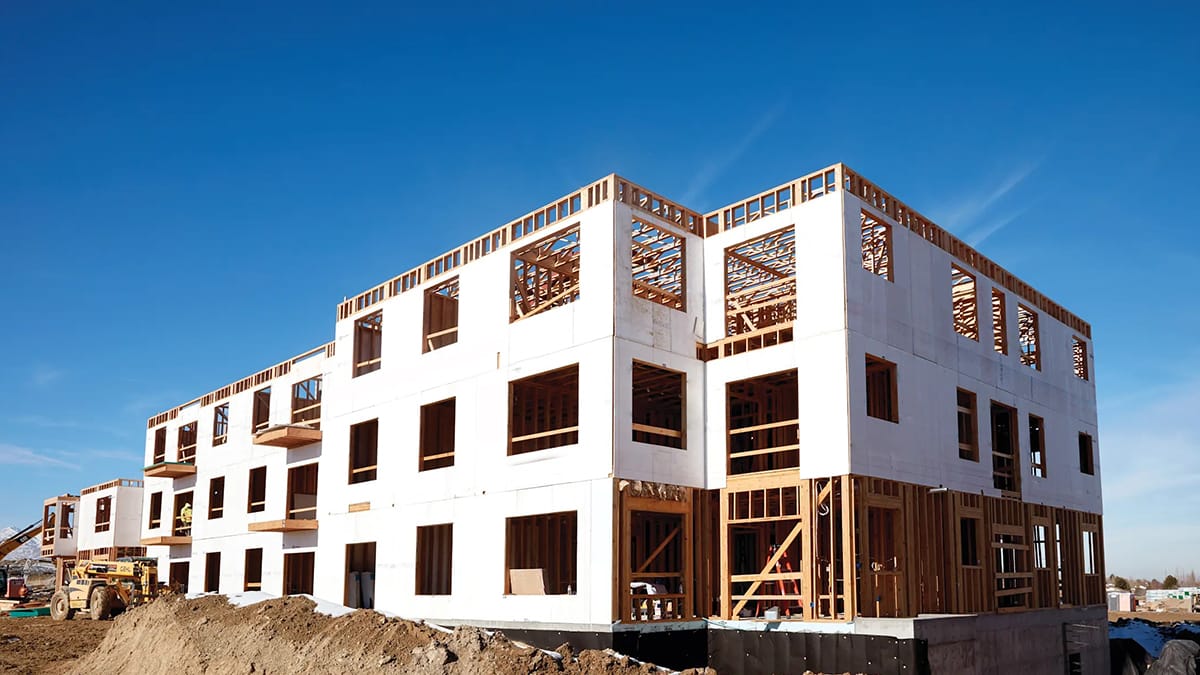
22 May Step-by-Step Guide to Installing MgO Board for Beginners
Table of Contents
Magnesium Oxide (MgO) boards are strong and eco-friendly materials. They are made from magnesium oxide, which makes them fireproof, waterproof, and mold-resistant. These boards are safe to use, even in tough conditions.
Using MgO boards has many benefits:
They create less pollution than regular gypsum boards, so they are better for the environment.
Many people like them because they are good for green building projects.
They don’t release dangerous gases during a fire, making buildings safer.
For beginners, MgO boards are easy to install. You can cut them with simple tools like a scoring knife or a power saw. Unlike drywall, you don’t need special tools. This makes them great for first-time builders. Follow this guide, and you’ll see how easy and fun it is to install these boards.
Key Takeaways
MgO boards are safe, eco-friendly, and resist fire and mold.
Collect tools like a scoring knife and rust-proof screws.
Check the surface for damage, clean it, and make it flat.
Cut boards carefully and leave tiny gaps to stop cracks.
Seal seams, add primer, and paint for a neat, lasting look.
Tools and Materials for Installing MgO Board
Tools needed for cutting and attaching
To install magnesium oxide boards, you need proper tools. These tools help make clean cuts and attach the boards securely. Use a carbide-tipped scoring knife to cut the boards. If you like power tools, a dust-reducing circular saw is a good choice. Fiber cement shears are also great for accurate cuts.
For attaching, use screws that resist rust. They keep the boards in place and last longer. You might also need adhesives, depending on the surface. Always follow the instructions for the best results.
Tip: Place boards on saw horses while cutting. This keeps them steady and helps avoid uneven cuts.
Materials you’ll need
Having the right materials is just as important as tools. Magnesium boards need underlayment to create a strong base. Screws or nails are used to hold the boards in place. To fill gaps between boards, use polyurea or modified epoxy seam fillers.
Here’s a quick list of materials:
What They’re Used For | |
|---|---|
Carbide Tipped Scoring Knife | Cutting MgO boards |
Dust Reducing Circular Saw | Reduces dust while cutting |
Fiber Cement Shears | Makes precise cuts |
Holds boards securely | |
Adhesive | Sticks boards to surfaces |
Polyurea or Modified Epoxy Seam Filler | Fills gaps for smooth joints |
Underlayment | Gives a stable base |
Safety gear to stay protected
Safety is very important when installing. Cutting magnesium boards can create dust, so wear a dust mask to protect your lungs. Safety glasses keep your eyes safe from flying debris. Gloves protect your hands from sharp edges.
Note: Many people say safety gear makes the job safer and easier.
Here’s a list of safety gear you’ll need:
Safety glasses to protect your eyes
Dust mask to avoid breathing in dust
Gloves to keep your hands safe
By using the right tools, materials, and safety gear, you can install magnesium oxide boards successfully.
Getting the Surface Ready for MgO Boards
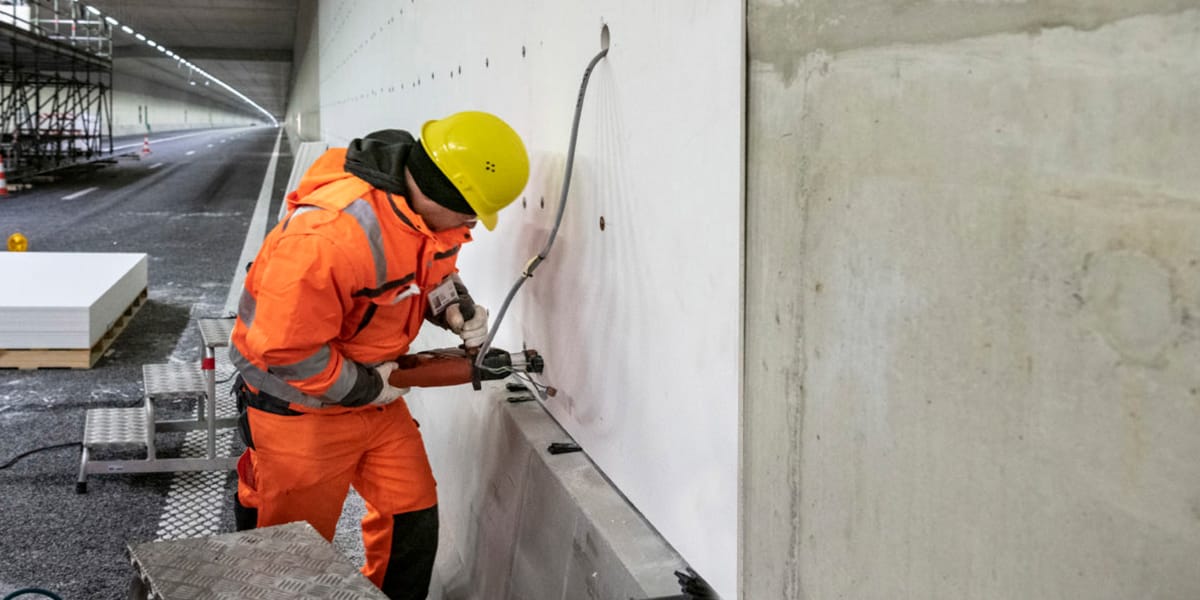 Getting the surface ready is very important for a good installation. Follow these steps to make sure the boards stay strong and look great.
Checking and Cleaning the Surface
First, check the surface where the magnesium boards will go. Look for cracks, holes, or uneven spots. These can make the boards unstable. Fix any damage before moving on.
After checking, clean the surface well. Sweep or vacuum to remove dust and dirt. For sticky grime, use a damp cloth or mild cleaner. A clean surface helps the boards stick better and last longer.
Tip: Don’t use strong chemicals. They can mess up the adhesive or screws.
Making Sure the Surface is Flat and Dry
The surface must be flat and dry for the boards. Use a spirit level to find uneven areas. Sand down high spots or fill low ones with leveling compound. This stops gaps or crooked boards.
Moisture can weaken the bond between the boards and surface. Make sure the area is fully dry. In humid places, use a dehumidifier to speed up drying.
Note: Wet surfaces can cause the boards to warp or grow mold.
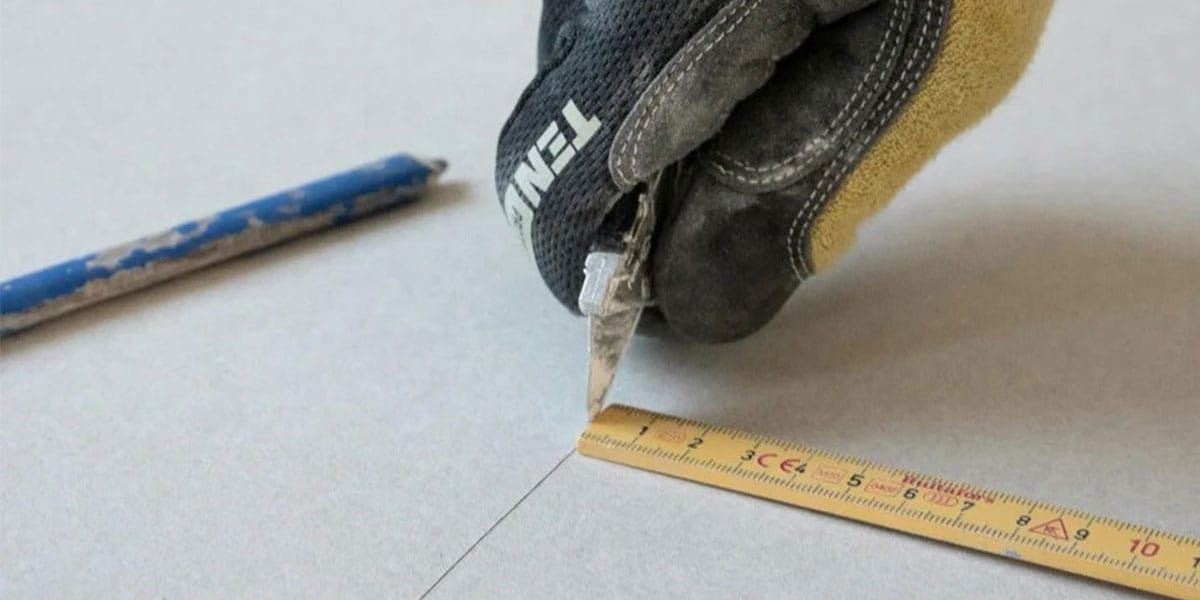
Measuring and Planning for Proper Placement
Good measurements and planning make the job easier. Measure the area with a tape measure. Mark the size on the surface using pencil or chalk.
Plan how to place the boards to avoid waste. Leave a small gap (about 1/8 inch) between boards for expansion. Mark where each board will go to see the layout clearly.
Pro Tip: Check your measurements twice before cutting. This saves time and materials.
By checking, cleaning, leveling, and marking the surface, you prepare for a smooth installation. These steps help your MgO boards stay strong and last for years.
Cutting MgO Boards
Measuring and marking the boards
Measuring correctly is important when cutting magnesium boards. Use a tape measure to find the size of each board. Mark the cutting lines with a pencil or chalk so they are easy to see. For better accuracy, you can use straight-line tools. These tools help keep cuts even but need proper care to work well.
Plan your layout to reduce waste. Leave a small gap between boards for expansion. Check your measurements twice before cutting to avoid mistakes.
Tip: Always mark boards on a steady surface to stop them from moving.
Tools and techniques for cutting MgO boards
You need the right tools and methods to cut magnesium boards. For small cuts, score the board with a utility knife and snap it. Fiber-cement shears, either electric or air-powered, are great for neat cuts. For bigger or tricky cuts, use a circular saw with a fiber-cement blade. This gives cleaner cuts and helps the blade last longer.
For round or odd shapes, use a jigsaw or trimmer with a cement board bit. Always keep the board steady on a firm surface while cutting to avoid movement.
Note: A saw with dust control and a vacuum keeps your area clean.
Tips for achieving clean and precise cuts
Here are tips for cutting magnesium oxide boards neatly:
Score deeply with a knife for small cuts, then snap the board.
Wear goggles and a mask to stay safe from dust.
Make sure your workspace has good airflow.
Sand the edges lightly for a smooth finish.
Add adhesive to corners to stop tiny cracks.
Using the right tools and steps makes cutting magnesium boards easy and accurate.
Laying the MgO Boards
 Positioning the boards correctly
 Positioning the boards correctly
Placing magnesium boards properly makes them strong and neat. Start by putting the boards on the prepared surface. Follow your layout plan to avoid mistakes. Line up each board with your earlier markings. Use a straight edge or level to check if they are even.
Keep the edges of the boards close together to reduce gaps. For corners, use special methods for a smooth finish. Bevel or shape the edges for easier taping and sanding. Outside corners need glue and sanding to make them smooth. Inside corners should have painter’s caulk for a clean joint.
Tip: Use aluminum or PVC extrusions at joints for extra strength in busy areas.
Fastening the boards securely
Attaching the boards tightly is important for them to last. Use screws that don’t rust to hold the boards in place. Space the screws 6 to 8 inches apart for even pressure. Don’t tighten screws too much, as it can harm the boards.
For corner joints, use strong adhesives like Chemcraft M1 or urethane glue. These adhesives stop movement over time. If using two layers, fill the base layer joints lightly before adding the top layer. This method reduces cracks and makes the boards stronger.
Note: Always follow the manufacturer’s instructions for screw spacing and adhesive use.
Allowing for expansion gaps
MgO boards expand and shrink with temperature and humidity changes. Leave a small gap, about 1/8 inch, between boards to stop cracking or buckling. These gaps let the boards adjust naturally.
Fill the gaps with paintable caulk that doesn’t shrink. Smooth the caulk and add primer after it dries. This keeps the finish neat and flexible. For bigger gaps, use stronger fillers like polyurea or epoxy.
Pro Tip: Try layering boards to reduce joint filling and improve stability.
By placing, fastening, and leaving gaps, you build a strong base for your MgO board project. These steps help the boards stay sturdy and look good for a long time.
Handling corners and edges
Corners and edges need special care when installing MgO boards. Taking time to do this right keeps them strong and looking good. Follow these simple steps to handle corners and edges easily.
Preparing the corners
Check corners for rough spots or damage before starting. Smooth uneven areas with sandpaper or a file. Clean inside corners well to remove dirt or dust.
Tip: Add a corner bead for extra strength. It stops chipping and makes edges look neat.
Installing inside corners
Inside corners need careful placement. Fit the boards tightly together without overlapping. Fill the gap with painter’s caulk and smooth it with a tool.
For stronger corners, use fiberglass mesh tape over the caulk. Press the tape down firmly, then cover it with joint compound. This stops cracks and keeps the corner solid.
Securing outside corners
Outside corners wear out faster, so protect them with a corner guard or metal bead. Attach the bead using screws or glue.
Cover the bead with joint compound and spread it evenly. Let it dry, then sand it lightly for a smooth finish.
Pro Tip: Use PVC corner guards in busy areas. They last longer and resist damage.
Finishing the edges
Edges near walls or ceilings need a small gap (about 1/8 inch). This gap helps stop cracks when the boards expand.
Fill the gap with flexible caulk and smooth it out. Once dry, add primer and paint for a clean look.
For exposed edges, use edge trim. Attach it with screws or glue, making sure it lines up perfectly.
Note: Sand edges lightly before adding caulk or trim. This helps them stick better and look smoother.
By following these steps, you can handle corners and edges easily. Good preparation and finishing make your MgO board project look great and last longer.
Finishing Touches for MgO Board Installation

Treating joints and seams
Fixing the joints and seams makes your magnesium boards look smooth. Start by putting fiberglass mesh tape over the seams. This tape keeps the joints strong and stops cracks. Then, spread joint compound over the tape to cover it. Smooth the edges of the compound so it blends with the board. Let it dry, then sand lightly for a flat surface.
In wet areas like bathrooms, add a waterproof layer over the seams. This step protects the boards and helps them last longer.
Tip: Clean the seams first. This helps the tape and compound stick better.
Priming and painting the surface
Painting your MgO boards makes them look nice and last longer. Pick an acrylic primer that works with magnesium boards. Use a roller or brush to spread the primer evenly. Add more than one layer, letting each one dry fully.
After priming, choose paint made for concrete or masonry. Paint in thin layers, letting each coat dry before adding another. Test the paint on a small spot first to check if it sticks well.
Recommendation Type | Details |
|---|---|
Primer | Use one made for concrete or masonry surfaces. |
Paint | Pick durable, high-quality paint. |
Testing Method | Test paint on a small area before painting all. |
Pro Tip: Light-colored paint makes rooms look bigger and brighter.
Optional sealing for added durability
Sealing your MgO boards adds extra protection, especially in busy areas. Use a sealant made for magnesium boards or concrete. Spread it evenly with a brush or roller so it soaks in well. Let it dry completely before using the surface.
Sealing is great for places like kitchens or bathrooms. It helps the boards last longer and makes cleaning easier.
Note: Reapply the sealant every few years to keep it working well.
By fixing seams, painting, and sealing, your boards will look great and stay strong. These steps protect your flooring from damage and daily use.
Installing an MgO board can be straightforward when you follow the right steps. Here’s a quick recap to guide you:
Preparation: Gather all tools and materials, then clean and level the surface.
Installing the Joists: Plan the layout and secure the joists firmly.
Laying the MgO Boards: Cut the boards precisely, position them correctly, and leave expansion gaps.
Surface Finishing: Treat seams, prime, and paint for a polished look.
You don’t need to be an expert to succeed. With patience and attention to detail, you can achieve professional results. Always double-check your measurements and use the right tools for each step. This ensures your project stays durable and visually appealing for years to come.
Tip: Start with a small area to build confidence before tackling larger projects.
FAQ
Why are MgO boards better than drywall?
MgO boards are fireproof, waterproof, and mold-resistant. They are stronger and better for the environment. You can use them in wet or busy areas without worrying about damage.
Tip: MgO boards are great for eco-friendly building projects because they are less harmful to the environment.
Can I install MgO boards by myself?
Yes, you can! MgO boards are easy to work with. You only need simple tools like a scoring knife or a circular saw. Follow this guide to install them step by step.
Pro Tip: Begin with a small project to gain confidence before working on bigger areas.
Do MgO boards need special screws or glue?
Use rust-proof screws and adhesives made for cement boards. These materials make the boards last longer and stay strong.
Note: Always read the manufacturer’s instructions for the best results.
How should I clean MgO boards after installing them?
Wipe MgO boards with a damp cloth and mild soap. Don’t use strong cleaners, as they can harm the surface. Cleaning them often keeps them looking new and lasting longer.
Are MgO boards good for kitchens and bathrooms?
Yes! MgO boards resist water and mold, so they’re perfect for wet places like kitchens and bathrooms. Add a sealant for extra protection and durability.
Emoji Reminder: 🛁 MgO boards are an excellent choice for areas with water exposure!