

14 Jan Complete Magnesium Sulfate Sheathing Guide for 2025
Table of Contents
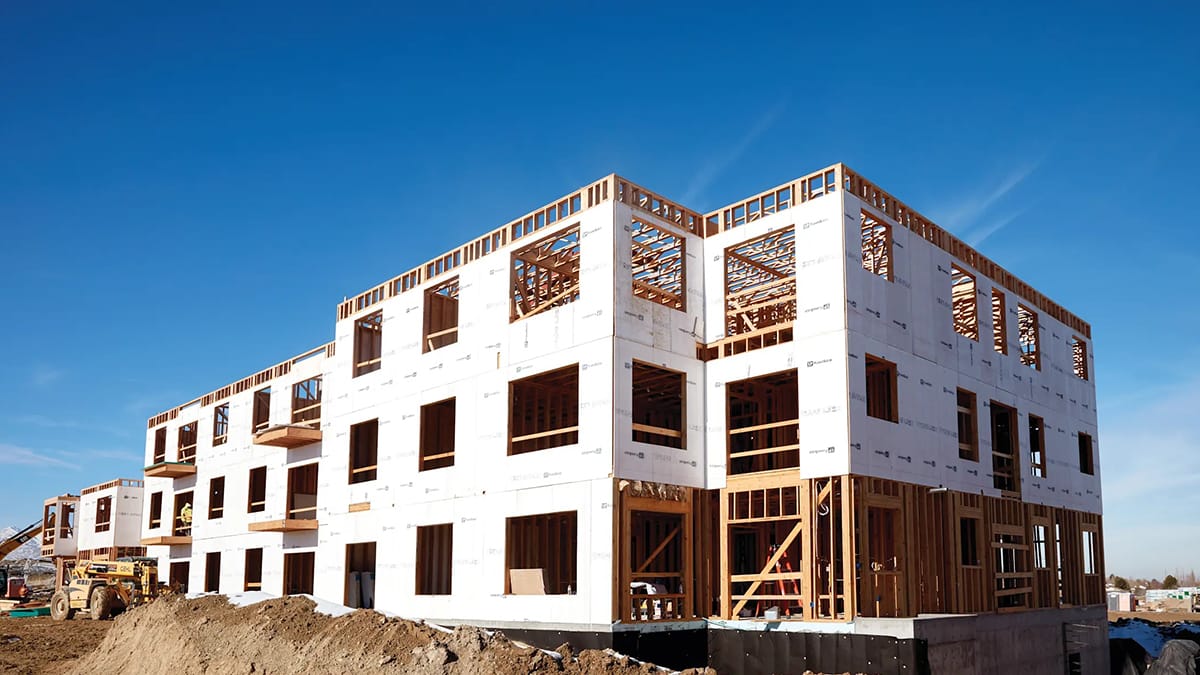
You want a strong and safe choice for new buildings. The magnesium sulfate sheathing guide shows every key step for safe use in 2025. Builders pick magnesium sulfate sheathing because it is tough and stops fire. New rules say wall boards must pass hard fire tests. Boards with UL, ISO, and CE labels can keep your building safe for up to two hours in a fire. Look at the market facts below:
Metric/Aspect | Details/Values |
|---|---|
Global Market Size (2024) | |
Global CAGR (2025-2032) | 5.4% |
Leading Application | Residential |
Use this guide to follow the newest safety rules and get the best results.
Key Takeaways
Magnesium sulfate sheathing can stop fire for two hours. This makes it a safe choice for new buildings.
These boards are strong and do not get damaged by water. They also do not grow mold. This means you will fix them less and save money over time.
Pick the right thickness and type for your project. This helps the boards work well and keeps people safe.
Always check for certifications like UL, ISO, and CE. These show the boards follow safety rules and building codes.
If you install and take care of magnesium sulfate sheathing the right way, it will last longer. It will also protect your building better.
Magnesium Sulfate Sheathing Guide Overview
What Is Magnesium Sulfate Sheathing?
You might ask how this material is not like other wall boards. The magnesium sulfate sheathing guide says these boards use a special mix. This mix makes a strong and safe surface for buildings. Makers mix magnesium oxide and magnesium sulfate with water. This forms a paste. They add wood dust, perlite, or vermiculite. These things make the board stronger and help with insulation. Glass fiber mesh is also added to make the boards tougher. The mixture is poured into molds. Then it is pressed to the right thickness. After that, it is cured so it lasts longer.
Here are the main ingredients:
Magnesium oxide (MgO) is the base.
Magnesium sulfate (MgSO₄) is the binder.
Wood dust or cellulose makes it flexible.
Perlite or vermiculite helps with insulation and fire resistance.
Glass fiber mesh makes it stronger.
The magnesium sulfate sheathing guide also says these boards have layers. The outside layer feels smooth. The inside has the main mix of cement and fillers. This setup gives you a board that can handle fire, water, and daily use.
Key Benefits and Features
If you follow the magnesium sulfate sheathing guide, you get many good things. These boards fight fire, mold, and water. You will see fewer repairs and spend less on fixing them, even in wet places. The boards also help keep your building safe and healthy.
Here is a table that compares magnesium sulfate sheathing to other types:
Benefit | Magnesium Sulfate Sheathing | Traditional Sheathing |
|---|---|---|
Durability | High | Moderate |
Resistance to Moisture | Yes | No |
Resistance to Mold | Yes | No |
Fire Resistance | Yes | Varies |
Maintenance Needs | Low | High |
Cost-Effectiveness | Long-term savings | Short-term savings |
These boards are also better for the environment. The magnesium sulfate sheathing guide says they are non-toxic and can be recycled. They do not soak up much water, so there is less mold. You can count on these boards to last and keep your building safe for a long time.
Choosing the Right Sheathing
 Application Types
 Application Types
You need to match magnesium sulfate sheathing to your project. Builders use these boards in many places. You see them in walls, ceilings, and floors. They also work well for furniture and custom panels. Each application has its own benefit. The table below shows common uses and what you gain from each:
Application Area | Benefits |
|---|---|
Fire Safety | Can block fire for up to four hours, ideal for buildings needing extra protection. |
Water Resistance | Prevents water absorption, reducing mold growth and structural damage. |
Noise Reduction | Effective in soundproofing, useful in offices, studios, schools, and hospitals. |
Furniture Design | Used in strong and stylish designs for wall panels and custom furniture. |
Tip: Choose the right board for your space. Fire-rated boards work best in stairwells and corridors. Water-resistant boards suit bathrooms and kitchens.
Thickness and Size
You must pick the correct thickness for your needs. Thin boards fit ceilings and walls. Thick boards support floors and heavy walls. The weight goes up as thickness increases, so plan for handling and support. Here is a quick guide:
Thickness (inches/mm) | Approximate Weight (lbs) | Notes |
|---|---|---|
1/8 (3 mm) | 30 – 37.5 | Walls and Ceilings |
1/4 (6 mm) | 45 – 56.25 | Walls and Ceilings |
1/2 (12 mm) | 77 – 96.25 | Walls and Ceilings |
5/8 (16 mm) | 100 – 125 | Walls, Ceilings, Subfloor |
3/4 (20 mm) | 130 – 162.5 | Subfloor |

Thicker panels give you more strength. You use them for floors and load-bearing walls. Lighter panels make installation easier for ceilings.
Certifications and Standards
You want safe and reliable boards. Look for certifications like UL, ISO, and CE. These labels show the board passed fire, water, and strength tests. Boards with these marks meet building codes and last longer. Always check the product label before you buy.
Note: Certified boards help you pass inspections and keep your building safe. Never skip this step.
Tools and Materials Checklist
Essential Tools
You need the right tools for a good job. Start with a measuring tape to check the size of your wall or floor. Use a utility knife or a circular saw with a diamond blade to cut the boards. A drill with a screwdriver bit helps you put in screws fast. Use corrosion-resistant screws or nails so the boards stay tight and do not rust. Always use a level to make sure your boards are straight. Sealing tape or weather-resistant adhesive helps seal the joints and keeps out water.
Here is a quick list of essential tools:
Measuring tape
Utility knife or circular saw (diamond blade)
Drill with screwdriver bit
Corrosion-resistant screws or nails
Level
Sealing tape or weather-resistant adhesive
Tip: Check your tools before you begin. Sharp blades and working drills help you finish faster.
Materials and Accessories
You need the right materials for a strong and safe job. Pick MgO boards that fit your project. Choose sealing tape that works with magnesium sulfate sheathing. Use weather-resistant adhesive for extra safety. You might need joint filler to cover screw holes and seams. Sandpaper helps smooth rough edges. Primer gets the surface ready for paint or finish.
Material/Accessory | Purpose |
|---|---|
Main sheathing surface | |
Sealing tape | Seals joints |
Weather-resistant adhesive | Extra moisture protection |
Joint filler | Covers screw holes and seams |
Sandpaper | Smooths edges |
Primer | Prepares for finishing |
Safety Gear
Safety is important when you work with magnesium sulfate sheathing. Wear protective gloves to keep your hands safe from sharp edges. Use safety eyewear to protect your eyes from dust and small pieces. A dust mask helps you breathe better when cutting boards. Wear long sleeves and pants to protect your skin.
Safety gear checklist:
Protective gloves
Safety eyewear
Dust mask
Long sleeves and pants
Note: Always wear safety gear. This helps you avoid getting hurt and keeps your work area clean.
Now you know what tools and materials you need for installing magnesium sulfate sheathing. With this checklist, you can work faster and stay safe.
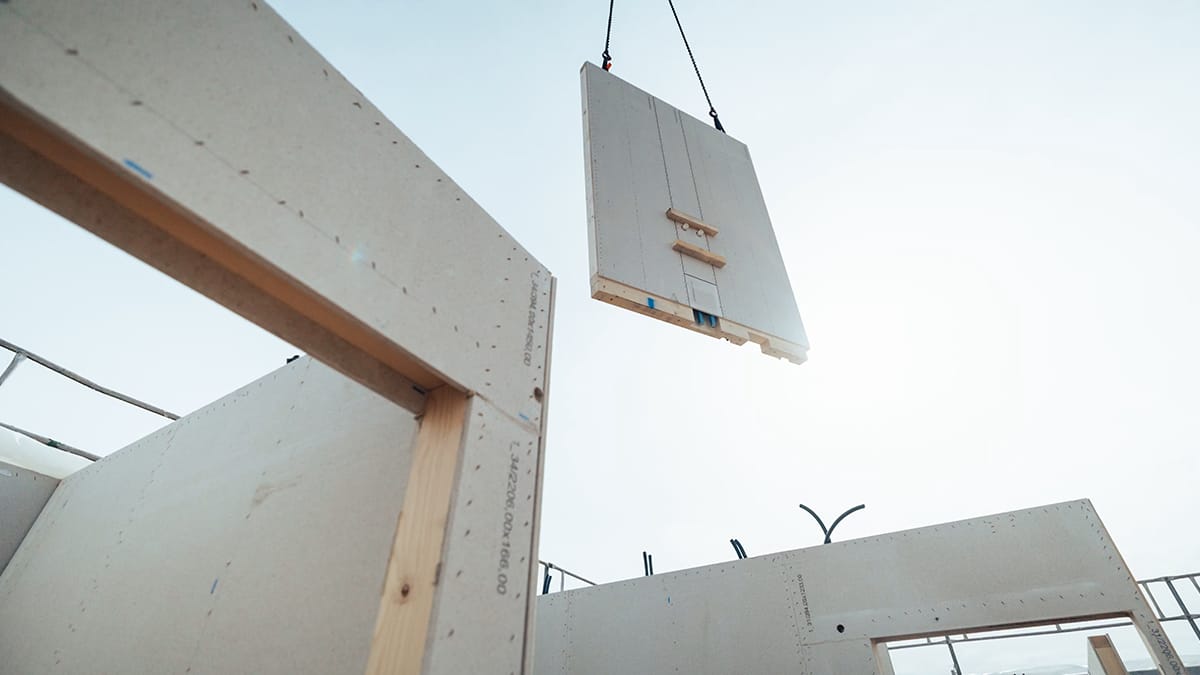
Step-by-Step Installation Instructions
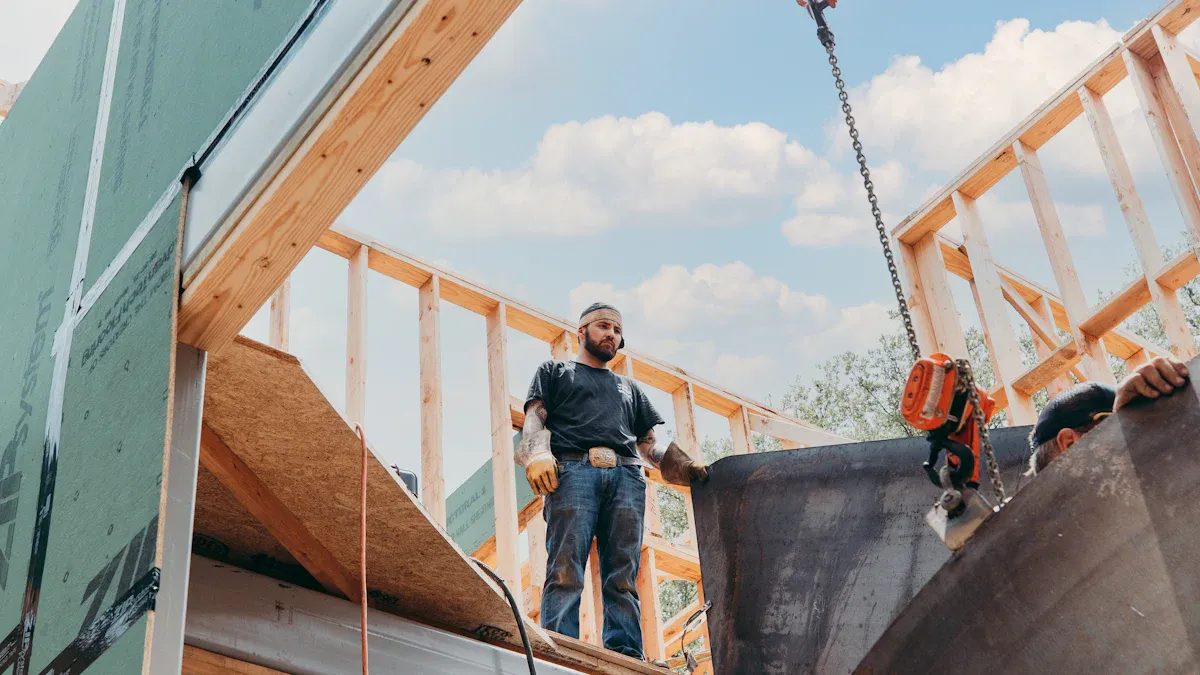
You want to follow a step-by-step guide for installing magnesium sulfate sheathing. This section gives you clear installation instructions for each stage. You will learn how to prepare surfaces, measure and cut boards, fasten panels, seal joints, and finish with sanding and priming. Each step helps you achieve strong moisture resistance and long-lasting results.
Preparation and Surface Cleaning
Start your installation process by preparing the surface. Good preparation helps you get a strong bond and better moisture resistance. Use this checklist before you begin:
Remove dust, dirt, and debris.
Check for loose materials and sweep them away.
You do not need to seal the board with primer before applying adhesive.
Inspect the area for any moisture problems.
Tip: Proper cleaning helps the adhesive stick better and keeps your sheathing safe from mold and water damage.
Measuring and Cutting Boards
Accurate measuring and cutting are important for a smooth fit. Follow this step-by-step guide:
Use a measuring tape to mark the area for each board.
Choose the right tool. Use a circular saw with a thin carbide blade for clean cuts. For thick boards, use a plunge saw with a diamond blade.
Keep steady pressure when cutting. Do not force the tool, or you may splinter the board.
After cutting, sand or file the edges for a smooth finish.
Always wear safety glasses, a dust mask, and gloves.
Cut boards in a well-ventilated area. Keep your workspace clear.
Note: Never use a utility knife for thick boards. Always leave small gaps between boards for expansion.
Fastening and Spacing
You need to secure the boards with the right fasteners and spacing. This step keeps your panels tight and improves moisture resistance. Use these installation instructions:
Space perimeter fasteners 6 inches apart.
Space center fasteners 12 inches apart.
Keep fasteners about 9/16 inch from the edge of the board.
Use REMFORM® II F™ screws, 316-stainless steel fasteners, or 4.8 x 42mm Bi-Metal Drywall Screws for best results.
Fastener Type | Use Case |
|---|---|
REMFORM® II F™ screws | High joint strength |
316-stainless steel fasteners | Corrosion resistance |
4.8 x 42mm Bi-Metal Screws | Magpanel MGO/Magnesium Sulfate |
Tip: Always use rust-proof screws to prevent corrosion and keep your boards secure.
Sealing Joints and Filling Holes
Sealing joints and filling screw holes protects your walls from water and fire. Follow this step-by-step guide for sealing:
Apply a thick layer of joint compound over seams. Extend the compound a few inches past the edges.
Press wide fiberglass mesh tape onto the wet compound. Align it with the joint.
Add more compound over the tape and smooth it out.
Make sure there are no air bubbles under the tape.
Use a fire-rated joint compound that works with magnesium sulfate sheathing.
Fill joints evenly. Let each layer dry before adding the next.
Lightly sand the joint compound when it is slightly damp. Apply a final coat and sand for a smooth finish.
You must select joint materials that comply with fire safety regulations. Look for products with certifications like ASTM E136 and EN 13501-1. Do not use non-fire-rated compounds or tapes, as they can break down under heat and let fire or smoke pass through.
Sanding and Priming
Finish your installation process by sanding and priming the boards. This step prepares the surface for paint or other finishes and improves moisture resistance.
Make sure the surface is clean and dry. Remove all dust and dirt.
Use fine-grit sandpaper to smooth rough spots and edges.
Choose a primer that works with alkaline surfaces. Acrylic-based or high-adhesion masonry primers are good choices.
Tip: Sand lightly to avoid damaging the board. Use a primer that matches your finishing material for best results.
You have now completed the step-by-step guide for installing magnesium sulfate sheathing. Each stage of the installation instructions helps you build a safe, durable, and moisture-resistant wall or floor.
Installation Process Tips & Common Mistakes
 When you install magnesium sulfate sheathing, your walls and floors get strong. They also protect well against fire. But you need to avoid mistakes that can make your project weak or less safe. This section will help you find errors and do a better job.
Fastening Errors to Avoid
You must pick the right fasteners and put them in the right spots. Some builders make mistakes that hurt fire resistance and strength. Watch out for these problems:
If you use the wrong size fasteners, boards can get loose and not stop fire well.
If you miss the framing, boards will not stay in place.
If you drive nails too deep, the board can crack and lose fire resistance.
If you use too many or too few fasteners, you get weak spots and less fire safety.
Bad fastening can make rust and hurt the building. Boards with lots of chloride can make rust worse. You should use stainless steel or ceramic-coated fasteners to stop rust, especially with old boards. Good fastening keeps fire resistance high and your building safe.
Sealing and Weatherproofing Issues
Magnesium sulfate sheathing needs good sealing to keep fire resistance and block water. If you skip sealing, water can get in and cause mold. Here are the most common problems:
Magnesium oxide boards can soak up water. This makes salty drops or “weeping” on the surface. Fire resistance goes down.
If boards get wet for a long time, they can swell, get weak, or break. Soft boards do not stop fire well.
Water can rust metal fasteners and grow mold. This hurts fire resistance.
You should check and seal seams and edges often. This keeps water out and fire resistance strong.
Sealing often helps fire resistance and keeps your walls strong.
Ignoring Manufacturer Instructions
You must follow the magnesium sulfate sheathing guide and the maker’s instructions. If you skip steps or use the wrong products, fire resistance can go down and problems can happen. Always read the instructions before you start. Use the right fasteners, sealants, and primers. If you do not follow the rules, you might fail inspections and lose fire resistance. Careful work gives you safe and long-lasting walls and floors.
Tip: Always check your work and follow the guide. This helps you get the best fire resistance and saves you from expensive repairs.
Cost, Durability, and Environmental Impact
Cost Breakdown
 Cost Breakdown
When you plan a magnesium sulfate sheathing project, you need to think about more than just the price of each board. Many things change the total cost. You should look at the material’s thickness, strength, and fire rating. You also need to make sure the boards follow building rules. Boards that last longer can save you money in the future. Buying a lot at once can give you a discount. Good suppliers and easy installation can help your budget too.
Factor | Description |
|---|---|
Material Specifications | Thickness, density, flexural strength, and fire rating for your project. |
Industry Compliance Requirements | Meeting local and international codes and certifications. |
Performance Metrics | Moisture resistance, impact resistance, and stability for lasting results. |
Cost-Efficiency Factors | Bulk discounts and lifecycle costs for better savings. |
Quality Assurance Considerations | Manufacturer’s quality control and supplier reputation for reliability. |
Integration Capabilities | Compatibility with construction methods and ease of handling. |
After-Sales Support Evaluation | Technical support and customer service for ongoing maintenance. |
Tip: You can spend less if you buy certified boards and get more at one time.
Durability and Maintenance
Magnesium sulfate sheathing is strong and lasts a long time. The panels stay in good shape and do not break easily, even after many years. When you compare them to fiber cement boards, magnesium oxide boards do better in bad weather and with heavy things on them. You will not need to fix them often.
Feature | Fiber Cement Boards | Magnesium Oxide Boards |
|---|---|---|
Durability | Resilient to weather and heavy use | Retains strength and lasts for decades |
To keep your boards working well, do these things:
Look at the panels once or twice a year for cracks or chips, especially after storms.
Wipe the boards with a wet cloth or use mild soap.
Fix seams or joints that look worn with new compound and sand them smooth.
Check that all screws are tight and not rusty.
In wet places, put on primer or waterproof sealant every few years.
Taking care of your boards helps them last longer and keeps your building safe.
Environmental Benefits
You help the earth when you pick magnesium sulfate sheathing. The boards use natural things and reuse extra materials. They break down on their own and take in carbon dioxide while they dry. This means they are better for the planet and help green building goals.
Aspect | Description | Environmental Benefit |
|---|---|---|
Raw Materials | Saves resources | |
Waste-Free Production | Reuses leftover materials | Cuts down trash |
Biodegradability | Breaks down naturally | Lowers long-term harm |
Carbon Footprint | Absorbs CO₂ during curing | Helps fight climate change |
You also help with green building programs like LEED and BREEAM. Magnesium oxide boards use less energy to make and do not create as much pollution. They help buildings save energy because they insulate well. The boards do not let out harmful gases, so they are safe for people and nature.
Using magnesium sulfate sheathing lets you build strong, safe, and earth-friendly spaces.
You can make your installation safe and strong if you follow these steps and tips. Magnesium sulfate sheathing can stop fire up to 1200°C. It also keeps out water, so it works well in wet places. These boards last more than 30 years and hold heavy things. Use sharp tools to cut the boards neatly. Always wear gloves, goggles, and a dust mask when you work. Keep boards flat and dry. Leave a small space between boards so they can expand.
Get your workspace ready before you start. Follow the maker’s instructions and check your local building rules. If you want more help, look at these resources:
Topic | Details |
|---|---|
Fastening | Use #8 flat head fasteners. Follow spacing rules for wood or metal studs. |
Safety | Wear safety gear. Use wet methods or a HEPA vacuum to control dust. |
Maintenance | Clean boards with mild soap. Check them often, especially in damp places. |
Longevity | Put on moisture-resistant coatings to help boards last longer in all weather. |
FAQ
What is the difference between mgo and regular drywall?
You use mgo for better fire and water resistance. Regular drywall does not stop fire or water as well. Mgo also lasts longer and does not grow mold easily. Builders pick mgo for safer and stronger walls.
Can you paint or finish mgo after installation?
Yes, you can paint or finish mgo. Make sure you sand and prime the surface first. Use a primer that works with alkaline materials. This helps the paint stick well and last longer on mgo.
How do you store mgo boards before installation?
You should keep mgo boards flat and dry. Store them indoors or cover them with a waterproof sheet. Do not let mgo touch the ground or get wet. This keeps the boards strong and ready for use.
Is mgo safe for indoor air quality?
Yes, mgo is safe for indoor air. It does not release harmful gases. You can use mgo in homes, schools, and hospitals. Many people choose mgo for healthy buildings.
Where can you use magnesium oxide board in a building?
You can use magnesium oxide board for walls, ceilings, and floors. It works in wet places like bathrooms and kitchens. Builders also use mgo for fire-rated walls and soundproof rooms.