

17 Dec How to Install MgO Board as a Basement Subfloor in 2025
Table of Contents
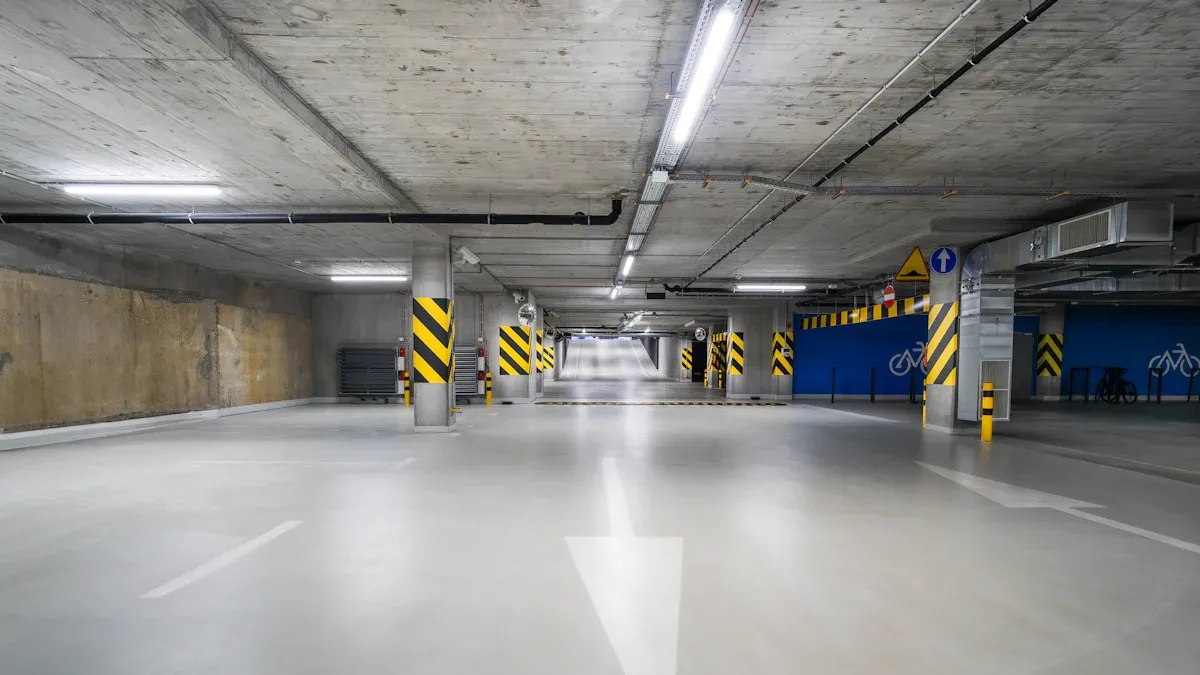
You can rely on MgO boards for your basement subfloor. They do not let water in, last a long time, and help keep the air dry. Many experts pick them because they do not burn easily and stay dry even when it is wet. MgO Board basement subfloor install is good for the planet. Here are some features:
Feature | Description |
|---|---|
Carbon Emissions | |
Recycled Materials | Often uses recycled stuff |
Indoor Air Quality | Very little harmful gas for safer rooms |
Begin your project feeling sure and get a strong, new basement floor.
Key Takeaways
MgO boards do not burn and do not get wet easily. This makes them a safe choice for basement floors. Getting ready is important. You need to clean and make the floor flat before you start. This helps you put in MgO boards the right way. You should use the correct tools and supplies. This makes the MgO board floor strong and last a long time. Seal the joints and edges. This stops water from getting in and keeps the basement dry. Clean the boards often and look for any damage. This helps MgO boards stay good for many years.
Why Use MgO Boards in Basements
Benefits of MgO Boards
You want your basement to be dry and safe. MgO boards help you do this. These boards have many good points. They are a smart pick for your subfloor. Here are the main benefits:
Fire-resistant and non-combustible, so your basement is safer.
Moisture-resistant and mold-proof, which stops damage and health risks.
Strong, durable, and impact-resistant, so your floor lasts longer.
Eco-friendly and recyclable, so you help the planet.
Lightweight and easy to install, so you save time and work.
Pest-resistant, keeping termites and bugs away.
Gives thermal and sound insulation, so your basement feels better.
Non-toxic and free from harmful chemicals, so your air stays clean.
Works for walls, floors, ceilings, and cladding.
Needs little care and lasts long, so you worry less about repairs.
You can trust MgO boards to keep your basement safe and strong for years.
MgO vs. Other Subfloor Materials
You might wonder how MgO boards compare to plywood and OSB. The differences show up in fire safety, moisture resistance, and strength.
Material | Fire Resistance Properties | Comments |
|---|---|---|
MgO Board | Great fire safety, does not catch or spread flames | |
OSB | Combustible | Burns fast, high fire risk |
Plywood | Moderate with treatments | Better than OSB, but weak in very hot conditions |
Material | Moisture Resistance | Mold Resistance | Structural Strength Post-Moisture Exposure |
|---|---|---|---|
MgO Board | Excellent | Complete | Keeps almost all strength |
Plywood | Moderate | Can get mold | Loses 9% of bending strength |
OSB | Poor | Can get mold | Loses 40% of strength |
MgO boards last much longer than gypsum underlayment. You can expect MgO boards to last 25 to 50 years. Gypsum underlayment lasts only 10 to 15 years. If you pick MgO boards, you get a subfloor that stands up to water, fire, and time.
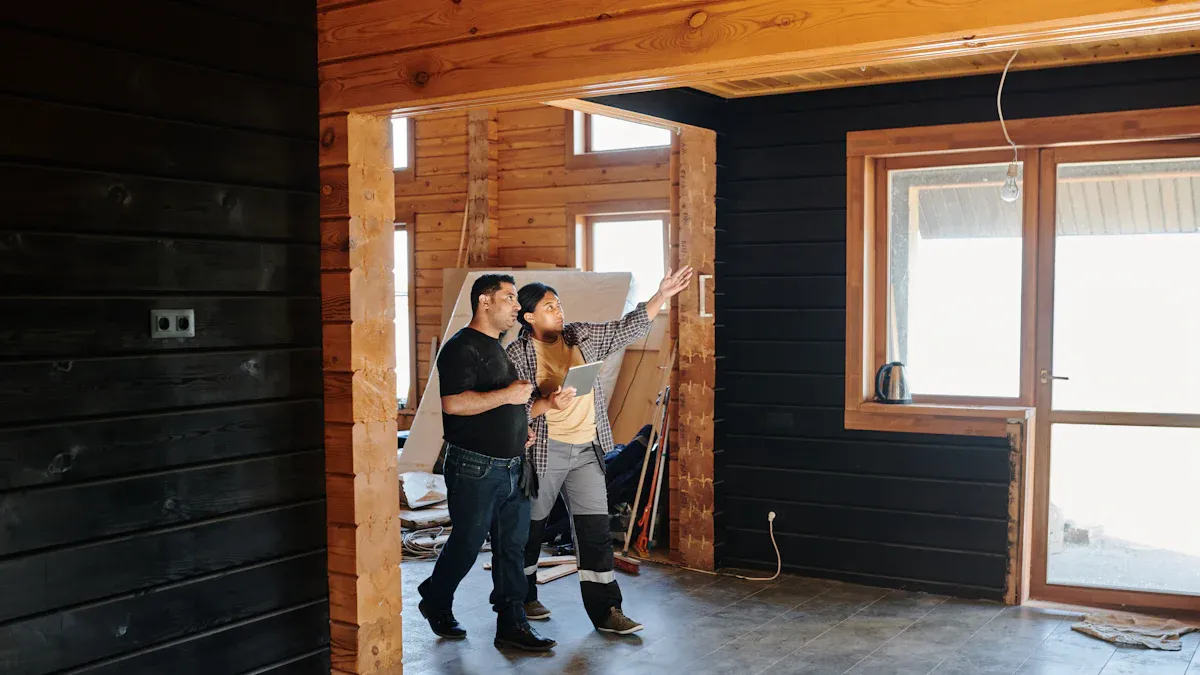
Preparation for Installing MgO Subfloors
 Cleaning and Moisture Checks
 Cleaning and Moisture Checks
You want a strong and long-lasting basement floor. Start with careful preparation for installing mgo subfloors. Clean the concrete slab before you do anything else. Follow these steps to get the best results:
Remove old flooring, dirt, and debris from the surface.
Sweep or vacuum to make sure the area is spotless.
Use a damp cloth with mild soap for sticky dirt.
Let the surface dry completely before moving on.
Check for cracks or damage and fix them right away.
Tip: Always wear gloves and a mask when cleaning. These safety measures protect you from dust and mold.
Moisture checks are important. Make sure the subfloor is dry. If you see water or damp spots, use a dehumidifier or fan to dry the area. Fix any leaks before you install MgO boards. This step helps prevent mold and keeps your basement safe.
Leveling and Foam Subfloor Options
A flat surface helps MgO boards last longer. Begin with a spirit level to find uneven spots. Sand down high areas or use a leveling compound for low spots. Repair cracks and holes so the boards sit flat. Measure the area and plan the layout, leaving a small gap for expansion.
Note: Good preparation for installing mgo subfloors means fewer problems later. Take your time with leveling.
Foam subfloors work well with MgO boards. You can use foam panels under the boards for extra insulation and comfort. Make sure the foam is dry and fits tightly. Always follow safety measures when handling tools and materials.
Tools and Materials for MgO Board Basement Subfloor Install
Before you start your basement project, you need to gather the right tools and materials. Having everything ready makes the job easier and helps you avoid mistakes. You will find that using the correct items keeps your MgO board subfloor strong and safe for years.
Tools Checklist
You need several tools to measure, cut, and install MgO boards. Each tool has a special job. Here is a checklist to help you get started:
Tape measure: Use this to check the size of your basement and each board.
Square ruler: This helps you mark straight lines for cutting.
Utility knife or circular saw with a carbide blade: These tools cut MgO boards to fit your space.
Screwdriver, drill, or nail gun: You use these to fasten the boards to the floor.
Safety gear (gloves, goggles, dust mask): Protect yourself from dust and sharp edges.
Tip: Always wear safety gear when you cut or drill MgO boards. Dust and small pieces can hurt your eyes or skin.
Materials List
You need the right materials to make sure your subfloor lasts. Choose items that resist moisture and keep your basement dry. Here is a list of what you should have:
MgO boards (choose the right size for your project)
Measuring tape
Utility knife or circular saw with a diamond blade
Drill with screwdriver bit
Corrosion-resistant screws or nails
Protective gloves and eyewear
Level
Sealing tape or weather-resistant adhesive
You should use sealing tape where two boards meet. This keeps water out and helps the boards last longer. Weather-resistant adhesive gives extra protection if you want more sealing. Double-check every joint to make sure you seal all gaps, especially in damp basements.
When you prepare your tools and materials, you make the installation smoother. You also help your MgO board subfloor stay strong and dry. Planning ahead saves you time and trouble later.
Step-by-Step Guide: MgO Board Basement Subfloor Install
You want your basement floor to last for years. This step-by-step guide helps you complete a mgo board basement subfloor install with confidence. Follow each step to make sure your mgo subfloors stay strong, dry, and easy to maintain.
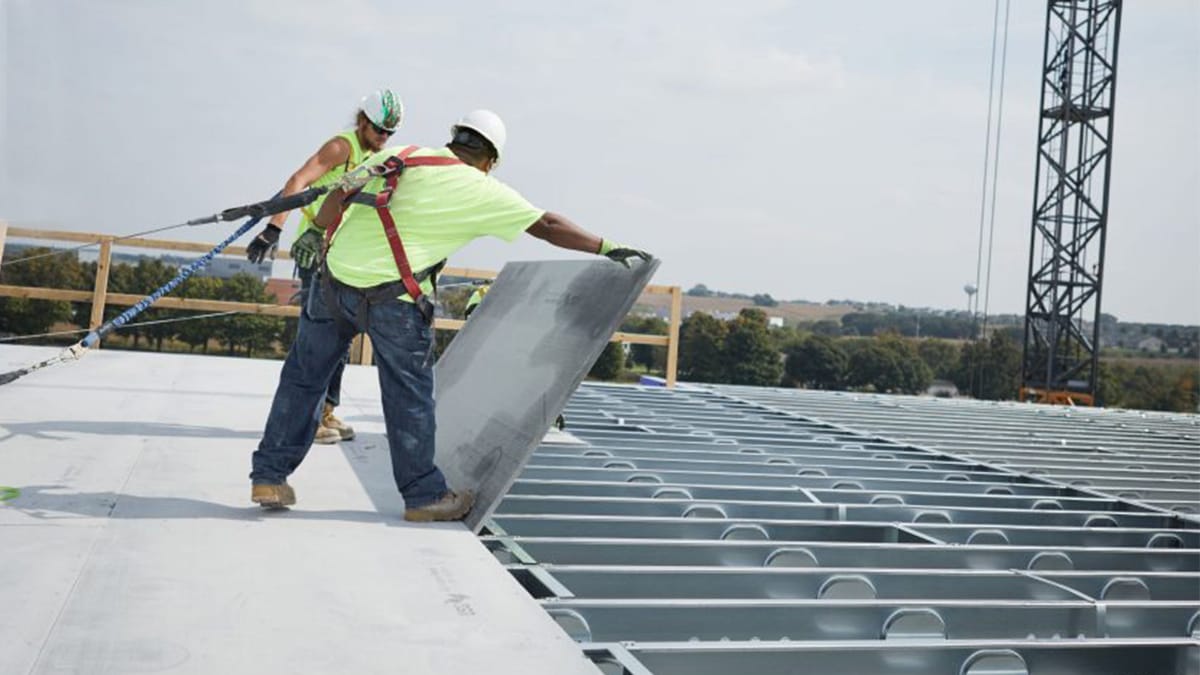
Measuring and Cutting MgO Boards
Start by measuring your basement space. Use a tape measure and a T-square to mark straight lines on each board. Accurate measurements help you avoid waste and make the boards fit tightly. You can use different tools for cutting mgo subfloors. The table below shows the best options:
Technique/Tool | Description |
|---|---|
Carbide Circular Saw | Recommended for optimal cutting results |
Carbide Tipped Scoring Knife | Suitable for scoring and snapping the boards |
T-square | Helps ensure straight and even cuts |
Roto Zip/Dremel | Ideal for circular and irregular angle cuts |
Always follow safety steps when you cut mgo subfloors. Put on gloves, safety glasses, and a dust mask. Make sure the room has good airflow. These steps protect you from dust and sharp edges.
Tip: Cut boards outside or near open windows to keep dust away from your basement.
Check each board after cutting. The smooth side should face up. This side gives better durability and helps with sealing later.
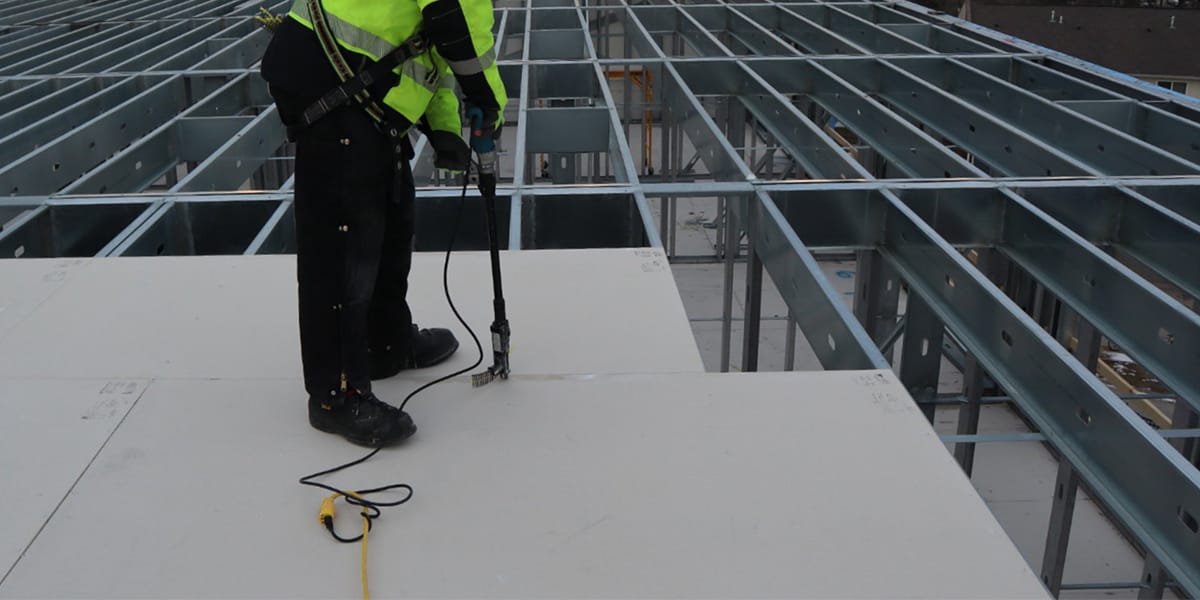
Aligning and Fastening Boards
Begin your mgo board basement subfloor install from one corner of the room. Place the first board with the smooth side facing up. Align the edges with the wall. Use a level to check that the board sits flat.
Fasten the boards using rust-proof screws. Place each screw 9/16 inch from the edge. Do not put screws at a 45-degree angle. Space the screws evenly along the edges and in the center. This pattern keeps the boards secure and helps your mgo subfloors last longer.
Note: Incorrect handling can compromise its fire resistance, moisture-proof capabilities, and structural stability.
Continue placing boards row by row. Make sure each board lines up with the previous one. Tight joints help prevent movement and keep water out. Double-check your work as you go.
Common mistakes can cause problems. Avoid using the wrong screws or nails. Always use a moisture barrier under the boards, especially in damp basements. Pick the right thickness for your mgo subfloors. Let the boards sit in the room for a day before installing. This step helps them adjust to the temperature and humidity.
Managing Expansion Gaps and Sealing
Leave a small gap between each board and the wall. This gap lets the boards expand and contract with changes in temperature and moisture. Use a flexible sealant on all joints and edges. Flexible sealants stop water from getting in and allow the boards to move without cracking.
For filling gaps, use a flexible filler like Manus-Bond 75-AM. After the filler dries, apply a sandable joint compound for a smooth finish. Seal every joint and edge carefully. This step keeps your mgo subfloors dry and strong.
Tip: Sealing tape or weather-resistant adhesive adds extra protection in wet basements.
Check your work before moving on. Make sure all gaps are sealed and the boards feel solid. A well-sealed mgo board basement subfloor install gives you peace of mind and a safe, dry basement.
You may notice that mgo subfloors cost more than plywood or OSB. The higher price comes from better durability and moisture resistance. Installation can take more time and may need extra care to keep the floor level. If you want a warranty, ask your contractor about options. Some brands offer coverage for defects or problems after installation.
This step-by-step guide makes mgo subfloors easy to install and helps you avoid common mistakes. You get a basement floor that stands up to water, fire, and time.
Finishing and Maintaining MgO Subfloors
 Sealing and Leveling
 Sealing and Leveling
You want your magnesium oxide boards to make a flat, strong base. Sealing and leveling help you get good results. Here are steps to get your subfloor ready for new flooring:
Check the magnesium oxide boards for cracks or holes. Look for uneven spots and any water damage.
Clean the boards well. Remove all dust and dirt. Put on a primer so the leveling compound sticks.
Pick a good self-leveling compound. Choose one that works with your flooring.
Make sure the room is the right temperature. This helps the compound dry right.
Mix the compound how the maker says. This stops weak spots from forming.
Use a smoothing trowel and a spike roller. These tools help make the floor even.
Let the floor dry for as long as the instructions say. Wait before you add your top layer.
Tip: Sealing and leveling the boards keeps them safe and helps stop problems later.
Preparing for Top Flooring
After sealing and leveling, you can get ready for your top flooring. Magnesium oxide boards work with many types of floors. You can use tile, vinyl, laminate, or carpet. Make sure the boards are dry and flat before you start. Check that all joints and edges are sealed. This keeps water out and helps your floor last longer. Magnesium oxide boards are good for the planet, so you can pick green flooring for your home.
Maintenance Tips
Magnesium oxide boards are easy to care for. Use these tips to keep your subfloor strong and safe:
Wipe the boards with a damp cloth. Do not use strong cleaners that can hurt the finish.
Look for cracks, chips, or loose screws. Fix problems as soon as you see them.
Put on more sealant or paint if the boards get a lot of use or face tough conditions.
Issue | Prevention Method |
|---|---|
Mold Growth | |
Structural Damage | Use a strong moisture barrier. |
Swelling of Materials | Control moisture with magnesium oxide boards. |
You get many good things from magnesium boards when you follow these steps. Magnesium oxide boards are good for the earth, keep bugs away, and last a long time. The boards are safe for people and the planet. You can trust them to keep your basement dry and safe.
You now know how to put MgO boards in your basement. Cleaning, leveling, and sealing make the floor strong and safe. MgO boards keep out water, mold, and fire. You will spend less time and money fixing problems. The table below explains why builders like MgO boards:
Key Feature | Description |
|---|---|
Durability | Strong, stops mold, water, and fire |
Moisture Resistance | Blocks water damage in basements |
Eco-friendliness | Helps the environment |
Maintenance | Needs little care |
Fire Resistance | Makes your home safer |
Pick your top flooring or talk to an expert for help. MgO boards will keep your basement dry and good for the planet.
FAQ
Can you install MgO boards over an uneven basement floor?
You should level your basement floor before installing MgO boards. Use a self-leveling compound to fill low spots. This step helps the boards sit flat and last longer.
Are MgO boards safe for homes with kids and pets?
You can trust MgO boards in homes with kids and pets. These boards do not release harmful chemicals. They resist mold and pests, making your basement safer for everyone.
How do you maintain MgO board subfloors?
You should clean MgO boards with a damp cloth. Check for cracks or loose screws often. Add sealant if you see wear. Regular care keeps your subfloor strong.
Why do builders choose MgO boards for sustainability?
Builders pick MgO boards because they use fewer resources and last longer. These boards help reduce waste and support sustainability in construction.
What flooring can you put on top of MgO boards?
You can install tile, vinyl, laminate, or carpet over MgO boards. Make sure the boards are dry and sealed before adding your top flooring.