

12 Jan How to Install Magnesium Sulfate Subfloors in Modern Homes
Table of Contents
You put in a magnesium sulfate subfloor by using careful steps. This keeps your house safe and strong. Getting ready is important. A clean, flat base helps the boards last longer. It also helps them work better. Magnesium sulfate boards do not get ruined by water. They stay strong in wet rooms. You also get more fire safety.
Tip: Pick boards with an A1 fire rating for top safety.
Feature | Details |
|---|---|
Fire Resistance | Does not burn, lasts 2-3 hours at 800ºC |
Moisture Resistance | Stays strong in wet or damp places |
Overall Safety | Safe and good for the environment |
The magnesium sulfate subfloor guide helps you install it. It shows what tools and steps you need.
Key Takeaways
Clean your workspace before you start. Make sure the subfloor is flat. A clean and flat base helps the boards last longer and work well.
Pick boards with an A1 fire rating. This rating means your home will be safer from fire.
Use the correct tools and materials to install. You need a stainless steel smoother. You also need rust-proof screws to hold the boards in place.
Put on safety gear before you begin. Wear gloves, safety glasses, and a dust mask. These protect you from getting hurt and breathing in dust.
Follow each installation step closely. Measure, cut, and fasten the boards the right way. This makes your subfloor strong and long-lasting.
Magnesium Sulfate Subfloor Guide: Tools and Materials
When you start with the magnesium sulfate subfloor guide, you need to gather the right tools and materials needed for the job. This step helps you work faster and keeps your project safe. You can follow the magnesium sulfate subfloor guide to make sure you do not miss anything important.
Essential Tools for Installation
You need several tools and materials needed to install magnesium sulfate boards. The magnesium sulfate subfloor guide recommends using special tools for a smooth finish. Here is a table that shows what you should have:
Tool | Description |
|---|---|
Stainless steel smoother | Spreads material evenly and gives a clean look. |
Gauge rake | Helps you distribute the boards and underlayment with the right thickness. |
Standard spike roller | Makes the surface flat and removes bubbles from self-leveling underlayment. |
Gunite shoes | Protects fresh surfaces and lets you walk on wet material safely. |
Foam tape | Blocks overflow and keeps the boards away from metal parts. |
Self-leveling kit | Includes all the main tools for a smooth and level installation. |
Tip: Always check your tools before you start. Clean tools work better and last longer.
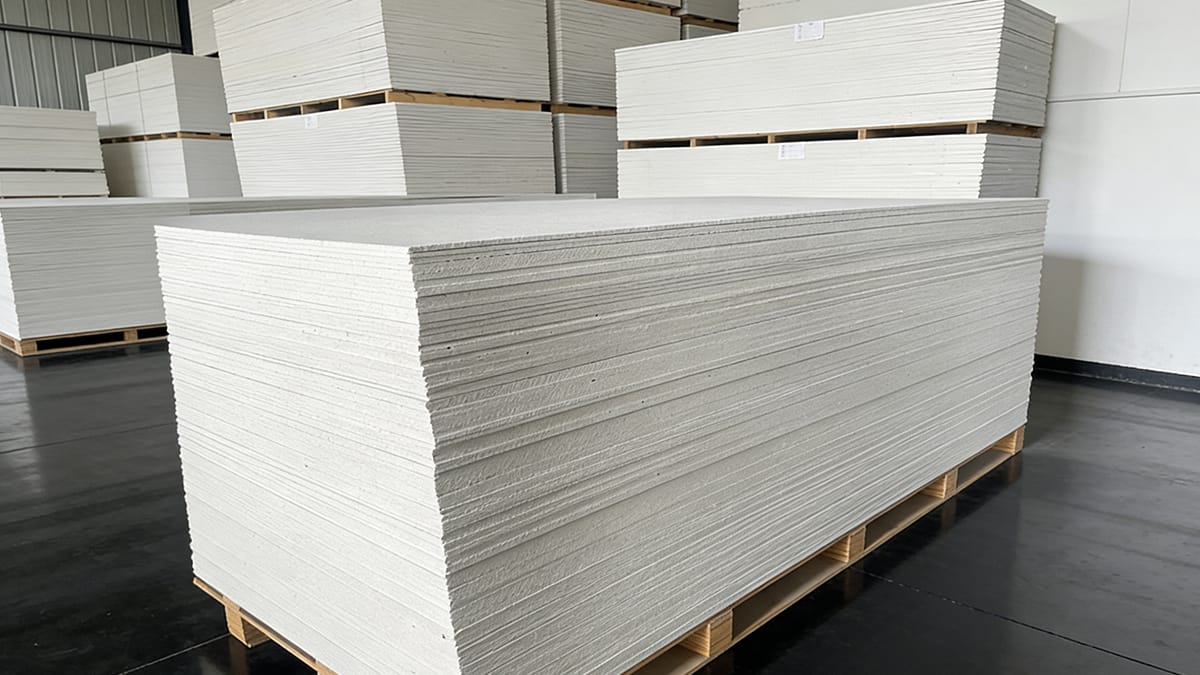
Materials and Board Specifications
You need to pick the right boards for your magnesium sulfate subfloor guide. Look for boards that are thick enough for your space. Most homes use boards that are 12mm to 20mm thick. Make sure the boards have an A1 fire rating. This rating means the boards will protect your home better. You also need adhesive or sealant that works with magnesium sulfate boards. Use rust-proof screws to keep the boards in place.
Safety Gear and Precautions
You must use safety gear to use when you install magnesium sulfate boards. Wear gloves to protect your hands. Use safety glasses to keep dust out of your eyes. A dust mask helps you breathe safely. The magnesium sulfate subfloor guide reminds you to keep your workspace clean and free of clutter. You should also wear knee pads if you work on the floor for a long time. Safety gear to use makes your job safer and helps you avoid injuries.
Note: Always follow safety rules. If you feel unsure, ask a professional for help.
Preparation for Installing Magnesium Oxide Boards
 Removing Old Flooring and Cleaning
 Removing Old Flooring and Cleaning
You need to start with good preparation for installing magnesium oxide board. First, clear the room. Move out all furniture and appliances. Open windows and doors for fresh air. Cover surfaces nearby to protect them from dust or damage. Use a pry bar and hammer to loosen the edges of the old flooring. Work around the room’s edge and lift the flooring away from the walls. Use a floor scraper to remove the rest of the flooring. Work in small sections, starting in one corner and moving across the room. Place old flooring in trash bags for disposal. If you find materials like asbestos, follow safety rules for removal. After you finish, clean the subfloor. Sweep or vacuum to remove dust and dirt. For sticky spots, use a damp cloth with mild soap. Let the surface dry before you move to the next step.
Leveling and Inspecting the Subfloor
Proper preparation means you must check the subfloor for problems. A clean, flat base helps the magnesium oxide boards last longer. Use this table to guide your inspection:
Step | Requirement |
|---|---|
Clean the surface | Remove dust, dirt, and loose pieces |
Ensure flatness | Subfloor must be flat, dry, and strong |
Wood: 2-4%, Concrete: under 75% | |
Fix damages | Repair any cracks or damage |
If you see cracks or weak spots, repair them before you continue. Make sure the subfloor is dry. This step helps prevent future problems with your new floor.
Planning Layout and Measurements
Good preparation for installing magnesium oxide board includes careful planning. Measure the room and plan how you will lay the boards. Cut the boards to fit the floor and joist spacing. Make sure the edges are straight for tight seams. Place the boards on the joists and use screws spaced 8-12 inches apart. Leave a small gap, about 3-5 mm, between boards for expansion. This step helps your floor stay strong when the temperature or humidity changes.
Tip: Take your time with preparation. Careful work now will make the rest of the installation easier and help your floor last longer.
Installation of MgO Boards: Step-by-Step Instructions
Putting magnesium oxide boards in your house makes the floor strong. It also keeps it safe and dry. You can follow these steps to help your project go well. Begin in one corner of the room. Keep the boards straight as you move across. Use rust-proof screws and the right glue for best results. Installing mgo boards means you need to pay close attention. Be careful when you cut magnesium oxide boards. Make sure you attach them tightly to the joists.
Applying Adhesive or Sealant to Joists
You must use the correct glue to stick the boards to the joists. Select Construction Adhesive works well for this job. Make sure the glue meets ASTM D3498 rules. Put a good amount of glue on top of each joist before you set the first board. After you put down the first sheet, add a small line of glue to the edge. Push the next board tightly against the last one. Use a putty knife to clean up extra glue from the seams.
Use ASTM D3498 glue to hold magnesium oxide boards.
Select Construction Adhesive is a good choice.
Put glue on the edge of the sheet you installed.
Place the next sheet tight against the last one.
Clean off extra glue with a putty knife.
Tip: Using enough glue stops squeaks and keeps your floor steady for a long time.
Thicker boards make your floor stronger and quieter. If you want your floor to last longer, pick boards that are at least 20mm thick.
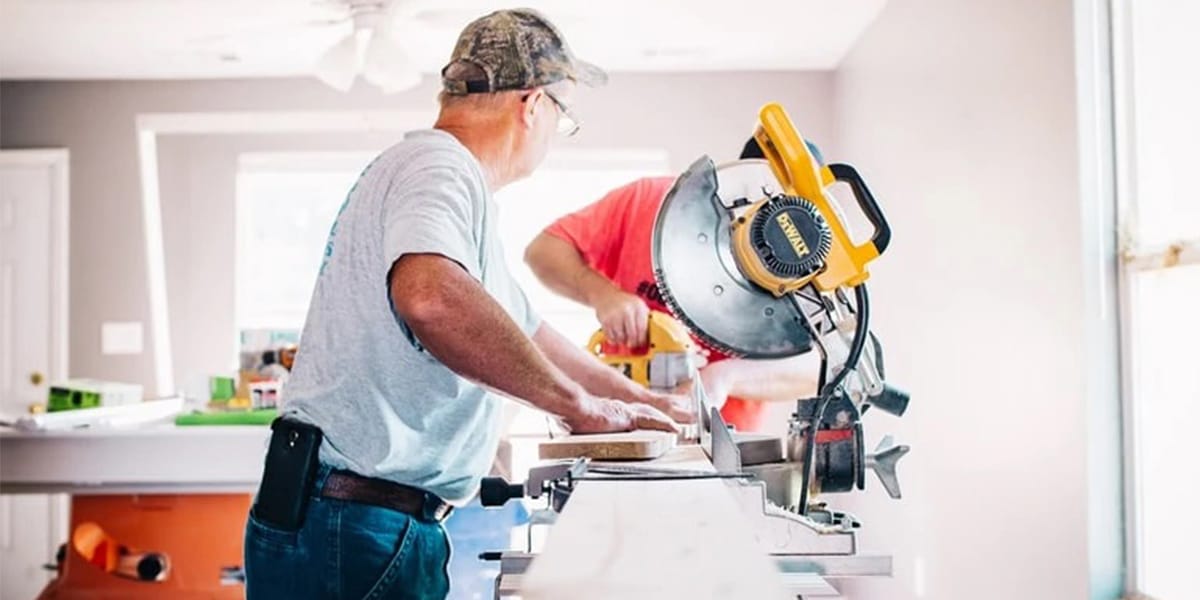
Measuring, Cutting, and Positioning Boards
Measuring and cutting magnesium oxide boards the right way is important. Always wear gloves, safety glasses, and a dust mask to stay safe from dust and sharp edges. Keep the boards flat and handle them gently so they do not break.
Start by marking where the walls go using your plan. Use a pencil to draw lines on the floor and beams. Mark where doors and windows are so the boards fit right. Use a tape measure to check the size of each board before you cut magnesium oxide boards. A circular saw or carbide blade works best for cutting magnesium oxide boards. Make sure the edges are straight so the boards fit together well.
Wear safety gear to protect yourself from dust and cuts.
Keep boards flat and handle with care.
Mark walls, doors, and windows for good alignment.
Use the right tools to cut magnesium oxide boards.
Check your measurements before you cut magnesium oxide boards.
Note: Careful wall marking and cutting magnesium oxide boards helps you avoid gaps and uneven edges.
Fastening with Rust-Proof Screws
You need to attach the boards tightly to the joists. Use rust-proof screws so they do not rust and your floor stays strong. The instructions for mgo boards say to use screws made from 316-stainless steel or ceramic coating. For wood joists, use #8 flat head screws with special threads. For metal joists, use #8 flat head screws with nibs. Put screws 8-12 inches apart along each joist. Make sure the screw heads are even with the board surface.
Application | Screw Type | Material |
|---|---|---|
Fastening to wood | #8 flat head with high/low threads | 316-stainless steel or ceramic coated |
Fastening to metal | #8 flat head with nibs | 316-stainless steel or ceramic coated |
General MgO boards | 4.8 x 42mm Bi-Metal Drywall Screws | 316-stainless steel or ceramic coated |
Tip: Using the right screws for mgo boards stops rust and keeps your floor safe.
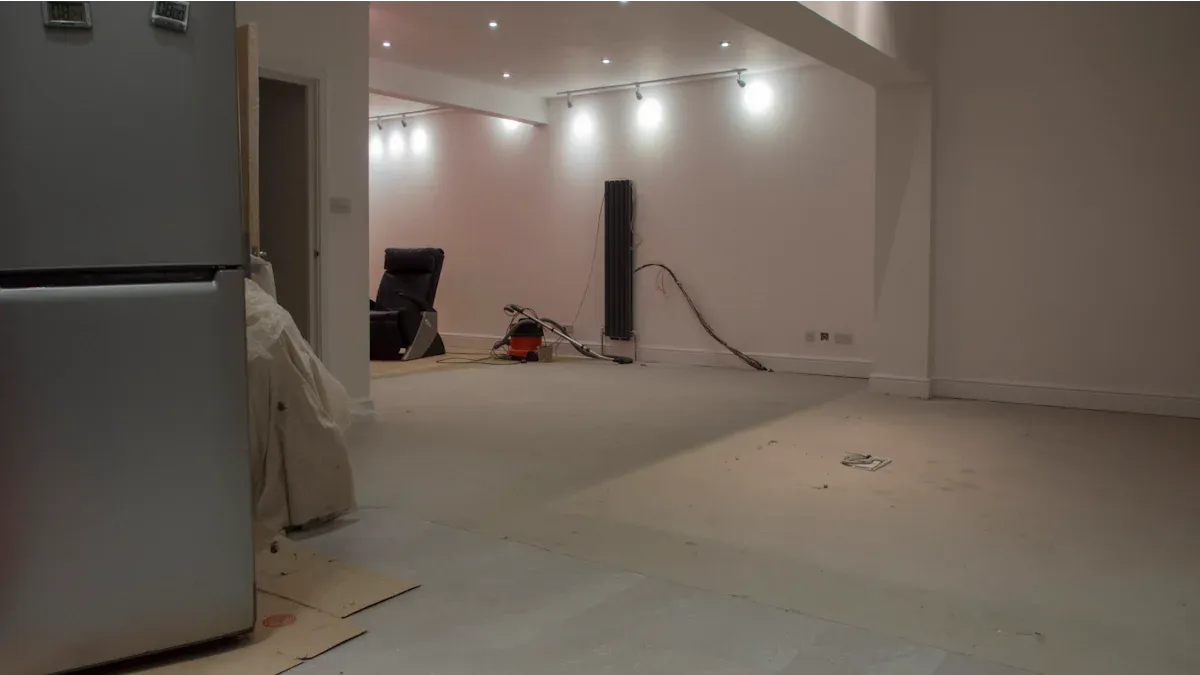
Finishing and Surface Preparation
When you finish putting in magnesium oxide boards, you need to get the surface ready for flooring. Make sure the surface is clean, dry, and has no dust or dirt. Use a good urethane flooring glue that works with hardwood and magnesium oxide boards. Spread the glue evenly with the right trowel. Press the flooring onto the boards so it sticks well. Let the glue dry all the way before you walk on the floor or put furniture on it.
Clean and dry the surface before you use glue.
Use a urethane flooring glue that matches your boards.
Spread glue evenly with the correct trowel.
Press flooring down firmly so it bonds well.
Let the glue dry as the directions say.
Note: Careful finishing helps your new floor last longer and look nice.
The instructions for mgo boards make the job easier if you follow each step. Doing each step helps you avoid mistakes and gives you a strong, safe floor. Putting in magnesium oxide boards is a smart choice for new homes. You get a floor that stays dry, safe from fire, and lasts a long time.
Troubleshooting and Installation Instructions for MgO Boards
Common Mistakes to Avoid
When you start the installation of magnesium oxide boards, you may face some common mistakes. Knowing these problems helps you avoid them and keeps your floor strong.
Uneven subfloors cause boards to crack or shift. Always check the flatness before you begin.
Moisture absorption can lead to paint peeling or mold. Use boards with low chloride content and apply waterproof sealants.
Metal fasteners may rust if you use the wrong type. Pick corrosion-resistant screws for better results.
Cracking and warping often happen when you do not store boards flat or let them adjust to the room. Let the boards acclimate before installation.
Some paints or adhesives do not stick well. Test them first and use the right primer.
Boards from different brands may not have the same quality. Buy from trusted suppliers and inspect each board.
Heavy boards can be hard to lift alone. Ask for help to prevent injury.
Tip: Review safety tips for installing mgo board before you start. This keeps you safe and helps you avoid accidents.
Solutions for Installation Issues
You can solve many installation problems with simple steps. If you find an uneven subfloor, use a scraper or grinder to remove debris. Vacuum the area to keep it clean. Always check the flatness before you lay the boards.
To prevent moisture issues, keep the boards dry and finish them fully. Let the boards adjust to the room’s humidity before you install them. Stable indoor humidity helps stop expansion and contraction.
If you see cracks or brittleness, handle the boards gently and avoid dropping them. Use the right screws to prevent stripping. If you notice water stains, check for leaks and seal the boards well.
Note: Follow safety tips for installing mgo board at every step. This protects you and makes the installation smoother.
Benefits of Magnesium Oxide Boards in Modern Homes
 Moisture and Mold Resistance
 Moisture and Mold Resistance
You want your house to stay dry and safe. Magnesium oxide boards help with this. If you use mgo boards in bathrooms or kitchens, mold and mildew will not grow. The minerals in mgo boards block water, so your subfloor does not get damaged. You do not need to worry about swelling or warping like with drywall or plywood. Mgo boards keep their shape even if the room is wet. If you treat magnesium chloride in mgo boards the right way, you stop water from getting in and metal fasteners from rusting. This gives you a strong floor that lasts many years.
Magnesium oxide boards do not swell when wet.
Treating them right stops water problems.
Tip: Use mgo boards in laundry rooms, kitchens, and bathrooms for best results.
Durability and Fire Protection
You want a subfloor that can handle lots of use. Magnesium oxide boards are very strong and last a long time. Mgo boards can last over 30 years, even if the weather changes or the room gets wet. You do not have to change them often. Mgo boards also keep your home safe from fire. Magnesium oxide boards do not burn or let fire spread. Tests show mgo boards can stop fire for up to two hours. Plywood and OSB cannot do this. You can feel safe because mgo boards follow strict fire safety rules.
Magnesium oxide boards stay strong in wet or changing weather.
Mgo boards do not catch fire or spread flames.
Plywood and OSB burn fast, but mgo boards do not.
Note: Pick mgo boards with fire safety ratings for extra protection.
Environmental Advantages
You help the earth when you use magnesium oxide boards. Mgo boards are good for the planet and can be recycled. You can use mgo boards in green building projects and win awards for helping the environment. Mgo boards are cleaner than other materials, so you lower your carbon footprint. Making magnesium oxide boards does not use bad chemicals or release harmful gases. Mgo boards use less energy to make, so you help the environment even more.
Here is a table that shows the main environmental certifications for magnesium oxide boards:
Certification Type | Description |
|---|---|
LEED EQ Credit: Low-Emitting Materials | MGO Boards give off no VOCs, which helps indoor air stay clean. |
WELL Certification Feature 01 | Helps keep indoor air healthy. |
LEED EA Credit: Optimize Energy Performance | Low heat flow means less energy use and lower costs. |
MR Credit: Building Life-Cycle Impact Reduction | Long life of 30-50 years saves resources and lowers impact. |
LEED MR Credits for Construction Waste Management | MGO Boards can be recycled or used again, so less goes to landfills. |
CE Marking & EN 13501 Certification | Meets European fire safety standards. |
ASTM E84 & E136 Reports | Shows fire safety without extra chemicals. |
VOC Emissions Certificates | Proves there are no VOCs. |
Environmental Product Declarations (EPDs) | Shows how the boards affect the environment. |
Technical Data Sheets (TDS) | Gives details for getting certifications. |
Mgo boards can be recycled and are good for the planet.
Magnesium oxide boards do not hurt the environment.
You help build green homes when you pick mgo boards.
Callout: Using mgo boards helps you make a safer, greener, and longer-lasting home.
You can put in magnesium sulfate subfloors by doing these steps: First, clean the surface so it is stable. Next, make sure the base is flat and dry to stop cracks. Then, measure the space and plan where the boards will go. Mark the boards and cut them carefully. Use screws or glue to hold the boards down, and leave small gaps so they can expand. Finish the seams and keep the boards safe.
Magnesium sulfate boards keep out water and last a long time. Always wear safety gear when you work. If you are not sure, ask an expert for help. You can find more tips in guides about soundproofing and underlayment choices.
FAQ
What is a subfloor and why do you need it?
You need a subfloor to support your flooring. The subfloor gives your home a strong base. It helps keep your floors flat and safe. You use a subfloor in every room to make sure your floor does not move or break.
How do you start getting the subfloor ready for installation?
You begin getting the subfloor ready by clearing the room. You remove old flooring and clean the surface. You check for damage and fix any cracks. You use a preparation checklist to make sure you do not miss any steps.
What tools do you need for subfloor construction?
You need a tape measure, circular saw, and rust-proof screws for subfloor construction. You use a level to check the base. You wear gloves and safety glasses. You use a drill to fasten the boards to the joists.
How do you keep your subfloor dry and safe?
You use magnesium oxide boards for your subfloor. These boards stop water from getting in. You seal the seams and use waterproof glue. You check for leaks often. You keep the subfloor dry to stop mold and damage.
Can you install a subfloor by yourself?
You can install a subfloor if you follow the steps. You read the guide and use the right tools. You ask for help if the boards are heavy. You check your work often. You make sure your subfloor construction is safe and strong.