

19 Aug Magnesium Wall Board Construction Process
Table of Contents
You make magnesium wall board by using a step-by-step process. This process turns raw minerals into strong panels. These panels do not burn easily. Builders use them in modern buildings. The table below shows how the market for these boards is growing:
Source | Market Size 2023 (USD Billion) | Projected Market Size (Year) | CAGR (%) |
|---|---|---|---|
DataIntelo | 2.1 | 4.3 (2032) | 8.3 |
Verified Market Reports | 1.5 | 2.5 (2033) | ~6 (2023-2028), 8.9 (2026-2033) |
Virtue Market Research | 1.6 | 2.73 (2030) | 5.8 |
Magnesium wall board does not catch fire. It also does not get moldy or damaged by water. You can use it for walls and ceilings. It works for tile backers too. These panels last a long time. They are better for the environment than drywall and plywood. Many people think they are a good choice.
Key Takeaways
Magnesium wall boards stop fire, water, and mold. They are strong and last a long time on walls and ceilings. – Use special materials like magnesium oxide to make these boards. Use tools like carbide-tipped knives to cut and install them safely. – Get the site ready by keeping boards dry and making surfaces flat. Leave small gaps between boards to stop cracks and damage. – Attach boards with screws that do not rust or with glue that is safe from fire. Cover the joints with fiberglass tape and joint compound for a smooth and strong finish. – Magnesium wall boards cost more at first but save money later. They last long, resist fire, and need little care.
Materials
Main Components
When you build with magnesium wall board, you need special ingredients. The most important one is magnesium oxide (MgO). People get MgO from magnesite, which is a natural mineral. They heat magnesite to over 600°C to make a fine powder. This powder helps the board stay strong. Fillers are also mixed in. Perlite is a volcanic glass, and vermiculite is a mineral. These help the board resist fire and keep heat in. Wood fibers and fiberglass mesh make the board flexible and tough. Bonding agents like magnesium sulfate and magnesium chloride hold everything together. All these materials come from nature. Using this board helps protect the environment. MgO boards use less energy to make and do not give off bad chemicals. You do not have to worry about cutting down trees or pollution like with plywood and drywall.
Tip: Boards made with MgO last longer. They resist mold, water, and fire better than regular wall panels.
Tools Needed
You need the right tools for magnesium wall board. For cutting, use carbide-tipped scoring knives, fiber cement shears, and saws that make less dust. Rotary tools with cement board bits are good for small cuts. To fasten the boards, use screws that do not rust, like 316 stainless steel or ceramic-coated ones. #8 flat head screws work for wood studs. You also need glue that meets ASTM D3498 rules and seam fillers like polyurea or modified epoxy. Safety gear is very important. Wear safety glasses, dust masks, and gloves to stay safe. Use saw horses to hold boards steady when you cut. A square and putty knife help you measure and finish the edges. Always control dust with water or a HEPA vacuum, especially inside.
Note: Never use power saws inside unless you control dust. This keeps your workspace safe and clean.
Manufacturing Process
 Raw Material Prep
 Raw Material Prep
First, you gather all the needed ingredients. You need magnesium oxide powder, magnesium salts, perlite, wood fiber, and water. Each material must be measured very carefully. You weigh them to match the recipe for each batch. This makes sure every board is strong and safe from fire. Most companies get magnesium oxide from magnesite or seawater. You also pick layers like non-woven fabric and fiberglass mesh. These layers help the board stay strong and not bend or break.
Tip: Always check if your materials are the right grade and certified. Different grades are used for indoor, outdoor, or fireproof boards.
Grade
Intended Use
Typical Applications
G Grade
Indoor, wet areas
Wall panels, tile backers
E Grade
Outdoor
Exterior siding
NC Grade
Noncombustible
Canadian market
S Grade
Structural
Walls, floors
FR Grade
Fire-resistant
Fireproof walls, ceilings
Mixing and Molding
You mix dry and wet ingredients in a big mixer. The goal is to make a smooth, even liquid. The best results come from using the right ratios of MgO, MgCl2, and water. This mix makes boards that are strong and do not let water in. You pour the mix onto a moving line. You add fabric layers and make the mix the right thickness. Some recipes use rice hulls, fine sand, or phosphate for extra strength and insulation.
Put magnesium oxide and salts into water.
Mix fast until it is smooth.
Pour the mix into plastic-lined molds.
Add the fabric layers.
Make the top flat.
Pressing and Curing
You press the molds to make the boards dense and strong. The boards cure in two steps. First, they stay in a room with set heat and humidity. This starts the chemical change. After taking them out of the molds, they cure at room temperature for up to seven days. Heating them to about 40°C helps make the inside crystals strong.
Quality Check
You look at each board to find any problems. You test how strong, tough, and fire-safe they are. Many companies use ASTM E136 and ASTM E84 rules for safety. You also check the thickness, surface, and how much water is inside. Boards that pass all tests go to finishing. Boards that do not pass get recycled or fixed.
Note: Certified boards follow strict fire safety rules. You can trust them for fire-rated walls and ceilings.
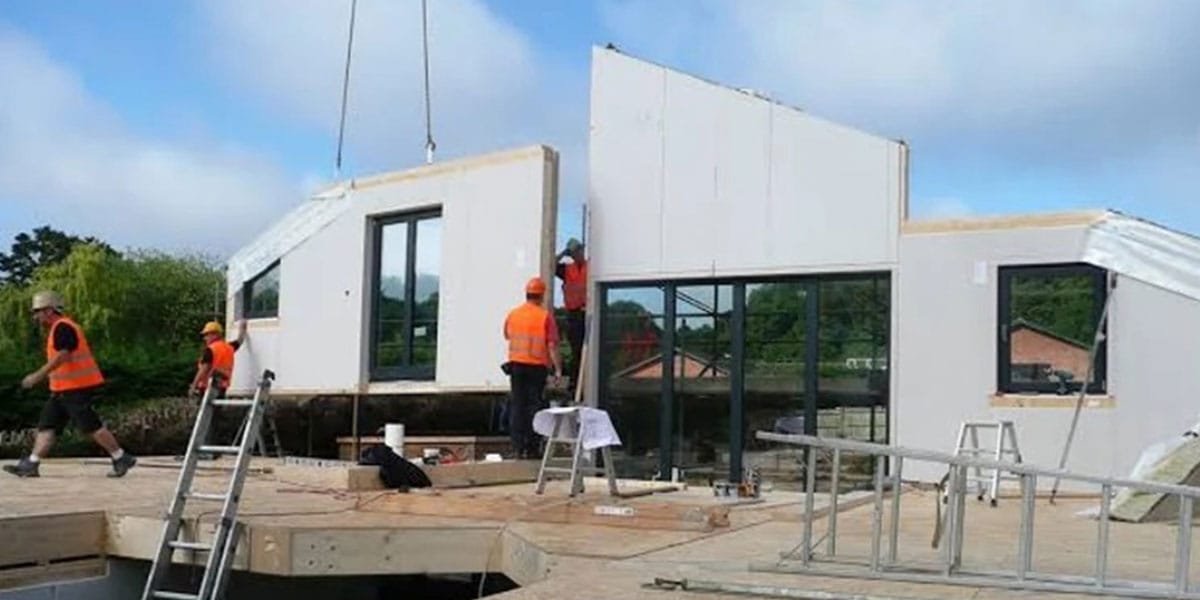
Magnesium Wall Board Installation
Site Prep
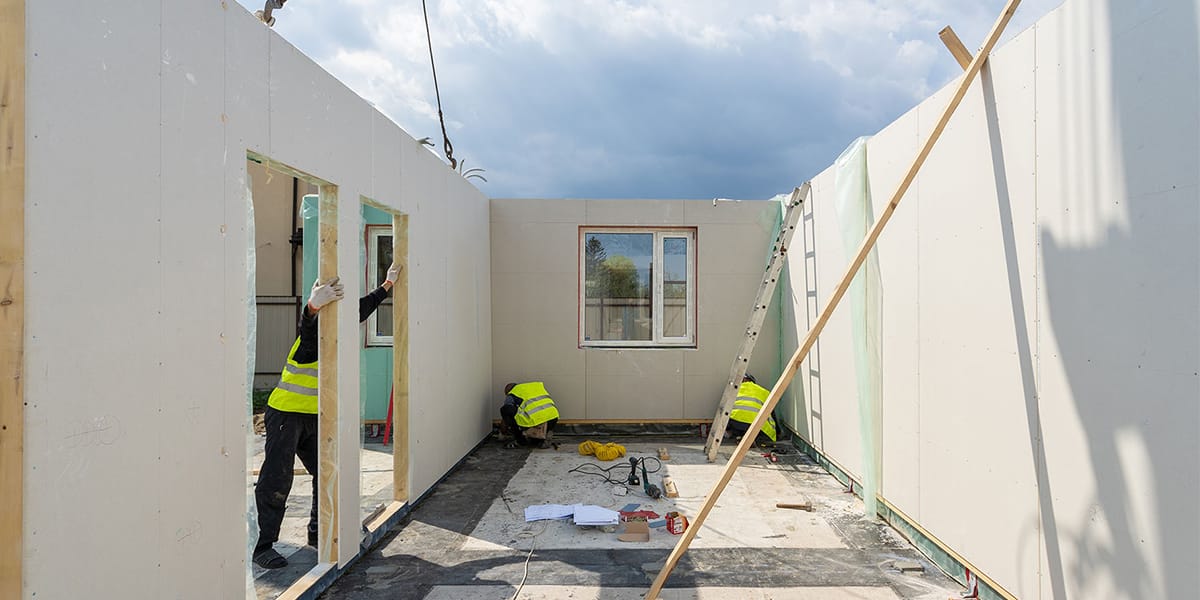
First, get the area ready for installing magnesium wall board. Keep the boards inside for at least one day. This helps them get used to the room’s air and temperature. Lay them flat on wood or pallets so they do not bend. Make sure the boards stay dry and do not touch wet cement or lime. Use both hands to carry each board. This stops the edges from breaking. Always wear goggles, gloves, and a dust mask to stay safe.
Follow these steps to prepare the site:
Let the boards sit in the room for one to two days.
Use a level to check if the wall or ceiling is flat and dry.
Draw lines on the wall or ceiling with a pencil or chalk.
Keep the room’s air and temperature steady before, during, and after you work.
Clean the wall or ceiling to get rid of dust and dirt.
Tip: Do not put up magnesium wall board if it is wet. Wait until it dries to stop future problems.
Cutting and Fitting
Measure each board with a tape measure and T-square. Mark where you need to cut with a pencil. Put the board on a steady surface like saw horses. For long cuts, use a circular saw with a thin blade made for cement boards. For small cuts, use a utility knife to score deep, then snap the board. Sand the edges to make them smooth.
When you need to fit boards around doors or windows, measure and mark carefully. Use a rotary tool with a carbide bit for curves or holes. Always leave a small gap between boards so they can move. Carry boards standing up to keep the edges safe. After cutting, check if the board fits before you attach it.
Note: Put glue on the corners after cutting. This helps stop small cracks and makes the board last longer.
Fastening
Attach magnesium wall board to wood or metal frames with screws that do not rust. Use 1-inch Type S screws for fireproof boards. Put screws 6 inches apart on the edges and 16 inches in the middle. Drill holes first in tight or curved spots to stop cracks. Hold the board tight while you put in screws to keep it straight.
Use fire-safe glue in a zigzag line if you want extra hold or instead of screws.
Do not screw too tight or you might break the board.
Always check the maker’s guide for the right screws and spacing.
Fastener Type | Recommended Use | Spacing |
|---|---|---|
1-inch Type S screws | Fireproof panels | 6″ edges, 16″ center |
Corrosion-resistant | All applications | As specified |
Fire-rated adhesive | Supplement/alternative | Zigzag pattern |
Tip: Start putting in screws at the bottom of the wall. Work your way up to keep the boards lined up.
Joints and Sealing
Leave a 1/8 inch gap between magnesium wall boards so they can move. Fill the gaps with a soft filler like Manus-Bond 75-AM. Make sure the filler is even with the board. Put a 6-inch wide fiberglass tape into a setting compound like RapidSet “Wunderfixx” over the seams. Spread the compound 12–18 inches past the joint. Sand the compound lightly while it is still damp to make it smooth.
Put on a final coat of joint compound and spread it out 18–24 inches for a smooth look. Make sure the surface is clean and smooth before you finish. For outside walls, put a weather barrier or house wrap behind the boards. This keeps out water and air.
Note: Keep the room’s air and temperature steady while you work and after. This helps stop small cracks and keeps the joints strong.
Common Mistakes to Avoid:
Never skip cleaning and leveling the surface.
Do not screw too tight.
Do not forget to leave gaps between boards.
Always follow the maker’s instructions and local building rules.
Alert: Bad cuts, uneven boards, and missing gaps can cause bending, cracks, and water damage. Check your work often to catch mistakes.
Finishing Steps
Priming
Start by preparing the surface. Clean the board to remove dust and debris. Fill any small cracks with a compatible filler and sand the area smooth. For best results, use a high-adhesion masonry or concrete primer. These primers work well because they bond with the cement in the board and create a strong base for paint. If you use the board outside, choose an exterior acrylic primer. This type of primer gives you a moisture-resistant seal and helps the paint stick better. Always test the primer on a small spot first to check for good adhesion.
Tip: Apply primer in thin, even coats. Let each coat dry before adding another. This method prevents peeling and gives you a smooth finish.
Painting
After priming, select the right paint for your project. Acrylic paint works well for most uses because it sticks well and lasts a long time. For indoor spaces, latex paint is easy to use and dries quickly. In busy areas, oil-based paint gives you a tougher finish. Use a brush, roller, or sprayer to apply thin, even coats. Let each coat dry fully before adding the next. This process helps you avoid streaks and makes the color look even.
Clean and dry the surface before painting.
Apply a high-quality primer for better paint adhesion.
Choose acrylic, latex, or oil-based paint based on your needs.
Use thin coats and let each one dry.
For outdoor boards, seal the paint to protect against weather.
Note: Regular cleaning and touch-ups keep your walls looking fresh.
Sealing
Sealing protects your finished surface from moisture and stains. For outdoor boards, use a clear water-based or polyurethane sealer. In harsh climates, elastomeric paint adds flexibility and resists cracks. Always use a weather-resistant barrier or house wrap behind exterior boards to stop water from getting in. Flexible joint compounds and expansion gaps help the board handle changes in temperature and humidity.
Apply sealers in thin, even layers.
Let each layer dry before adding the next.
Check for full coverage, especially in corners and seams.
Alert: Proper sealing prevents damage from water and weather. This step is key for long-lasting results.
Pros and Cons
Benefits
 Benefits
Magnesium wall board has many good points. It lasts longer than gypsum and does not get damaged easily. The board gives strong fire protection for up to four hours. It will not burn or make toxic smoke in a fire. Water, mold, and bugs do not harm it, so it is safe in wet places. The board is better for the earth because it soaks up carbon dioxide while it dries and uses green materials. You save money over time since you do not need many repairs.
Magnesium Oxide Boards | Gypsum Boards | |
|---|---|---|
Upfront Cost | Higher ($1.50 – $2.50 per sq ft) | Lower ($0.50 – $1.00 per sq ft) |
Durability | More durable, impact-resistant | Softer, prone to damage |
Lifespan | Longer lifespan | Shorter lifespan |
Fire Resistance | Superior, non-combustible, up to 4 hours rating | Less fire resistant |
Moisture Resistance | High resistance, resists mold and mildew | Absorbs water, prone to swelling and damage |
Environmental Impact | Lower carbon footprint, absorbs CO2 during curing | Higher carbon footprint, no CO2 absorption |
Recyclability | Highly recyclable, can be reused or used as fertilizer | Limited recyclability, mostly landfill |
Tests show magnesium wall board can take heat up to 1200°F. This helps you feel safe if there is a fire. Studies say the board stays strong and keeps its shape even when wet. You can use it for walls, ceilings, and floors in homes, schools, and hospitals.
Tip: Magnesium wall board saves you money in the long run and needs less fixing than gypsum or cement boards.
Drawbacks
There are some problems with magnesium wall board. It costs more at first and is heavier than gypsum. You need skilled workers to put it in, which can cost more. Some brands are not as good, so strength and fire safety can change. Boards may crack or break if you drop them or handle them wrong. In very wet places, the board can sweat or stain, which may cause mold or rust. Sometimes, it is hard to find, so projects can be late.
Cracks and brittleness make it harder to install.
Heavy boards often need two people to carry.
Screw holes can strip, which slows down work.
Water stains may show up even though the board fights moisture.
Bad installation can cause rust or cracks.
Humid places can cause sweating or mold.
High cost and low supply can hurt your budget and schedule.
Studies in Denmark found that magnesium oxychloride boards can have water problems in wet weather. These problems can cause mold, stains, and damage to metal parts.
Tips
You can make magnesium wall board last longer by using smart steps. Let the boards get used to the room before you start. Leave small spaces between boards and use soft joint compounds so they can move. Pick screws that do not rust to stop rust spots. Make sure surfaces are ready before you glue or finish. Always finish the boards to keep out water. Check the boards often and keep them dry. Clean with a damp cloth and do not use strong cleaners.
Note: If you follow the maker’s rules for coatings and glue, you will stop damage and make sure the boards stick well.
Board Type | Long-term Value | |
|---|---|---|
MgO Board | $1.50 – $2.50 | Strong, fireproof, and water-resistant, saving money over time |
Gypsum Board | $0.50 – $1.00 | Cheaper upfront but may incur higher repair and replacement costs |
You use simple steps to build with magnesium wall board. First, pick good materials and get surfaces ready. Next, attach boards with screws that do not rust or with glue. After that, cover the joints with fiberglass tape and joint compound. Then, sand the boards, put on primer, paint, and seal them to make them last.
Magnesium wall board is great where you need fire safety and water protection. It also helps save money over time. You find it in bathrooms, kitchens, schools, hospitals, and places with hurricanes. Always make sure you install it right and finish it well. This stops cracks and stains.
Magnesium wall board gives strong protection and is easy to care for. Ask experts for help with tricky projects or special places.
FAQ
What makes magnesium wall board different from drywall?
Magnesium wall board resists fire, water, and mold. You get better durability and safety. Drywall absorbs moisture and breaks more easily. Magnesium boards last longer and work well in wet or high-risk areas.
Can you cut magnesium wall board with regular tools?
You need special tools like carbide-tipped knives or cement board saws. Regular blades wear out fast. Always use safety gear and control dust when you cut these boards.
Is magnesium wall board safe for bathrooms and kitchens?
You can use magnesium wall board in wet spaces. It resists mold and water damage. You get strong protection in bathrooms, kitchens, and laundry rooms.
How do you maintain magnesium wall board?
Clean the surface with a damp cloth. Avoid harsh chemicals. Check for cracks or stains often. You keep the board in good shape by sealing and painting it properly.